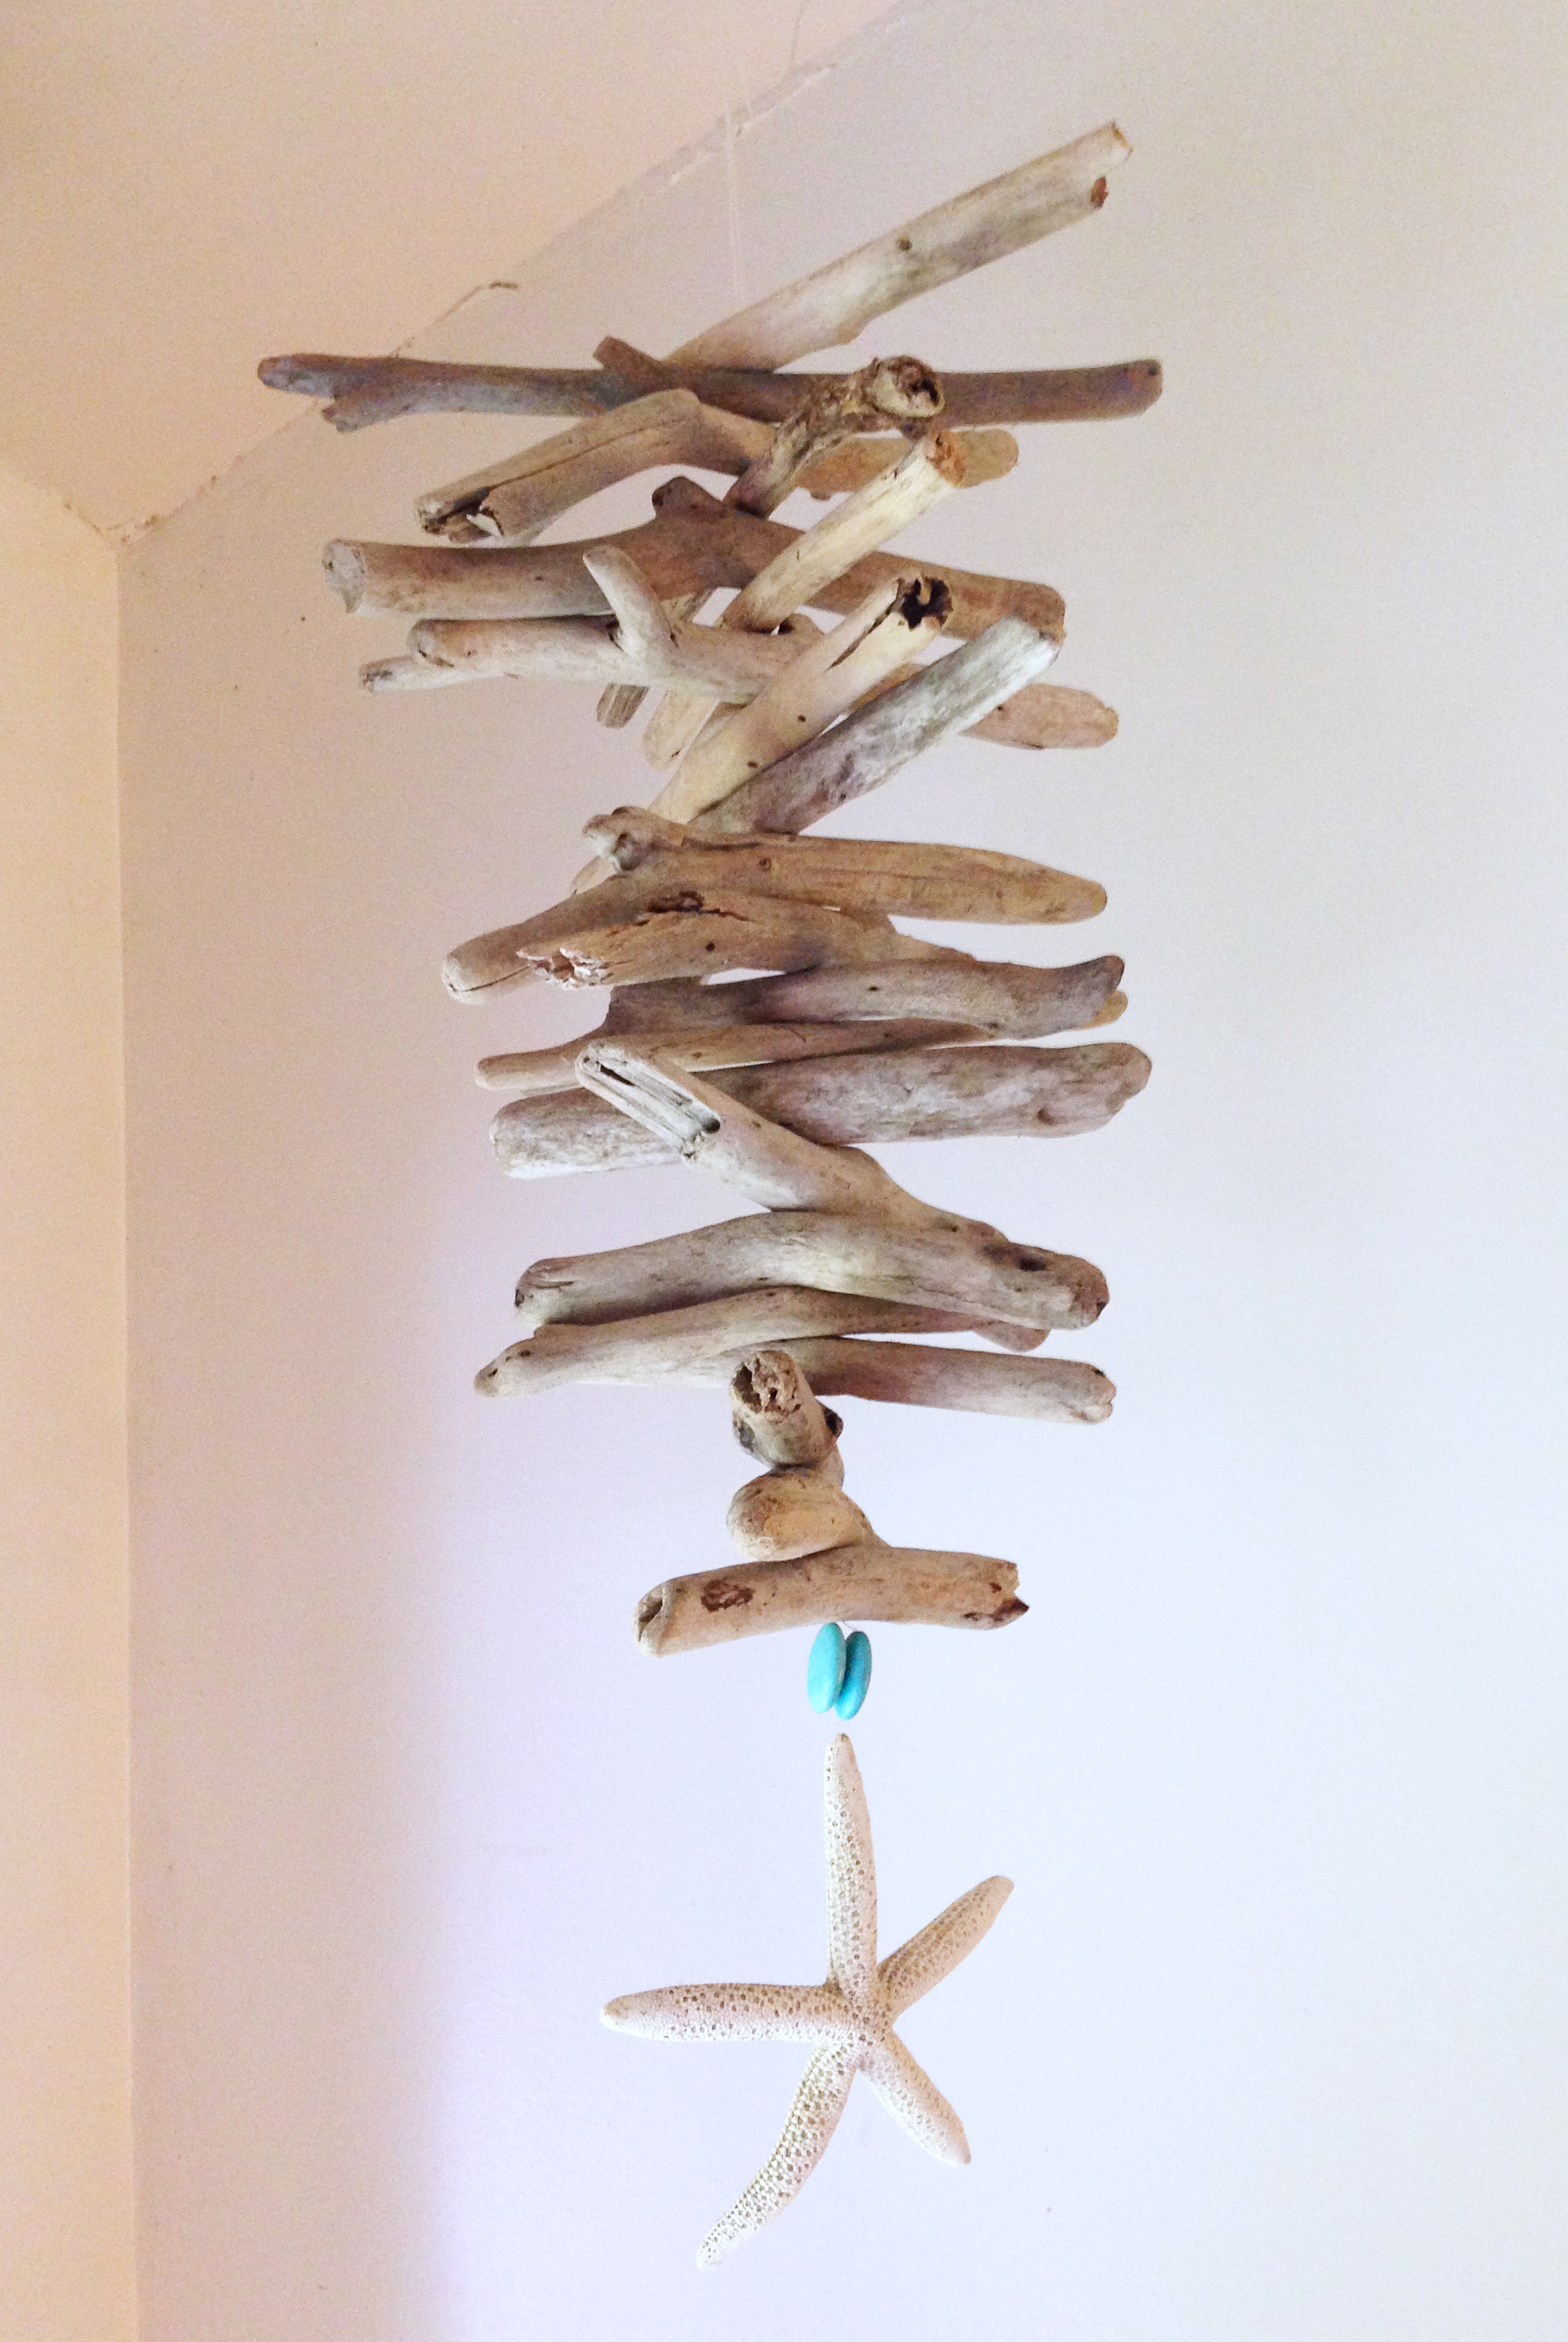
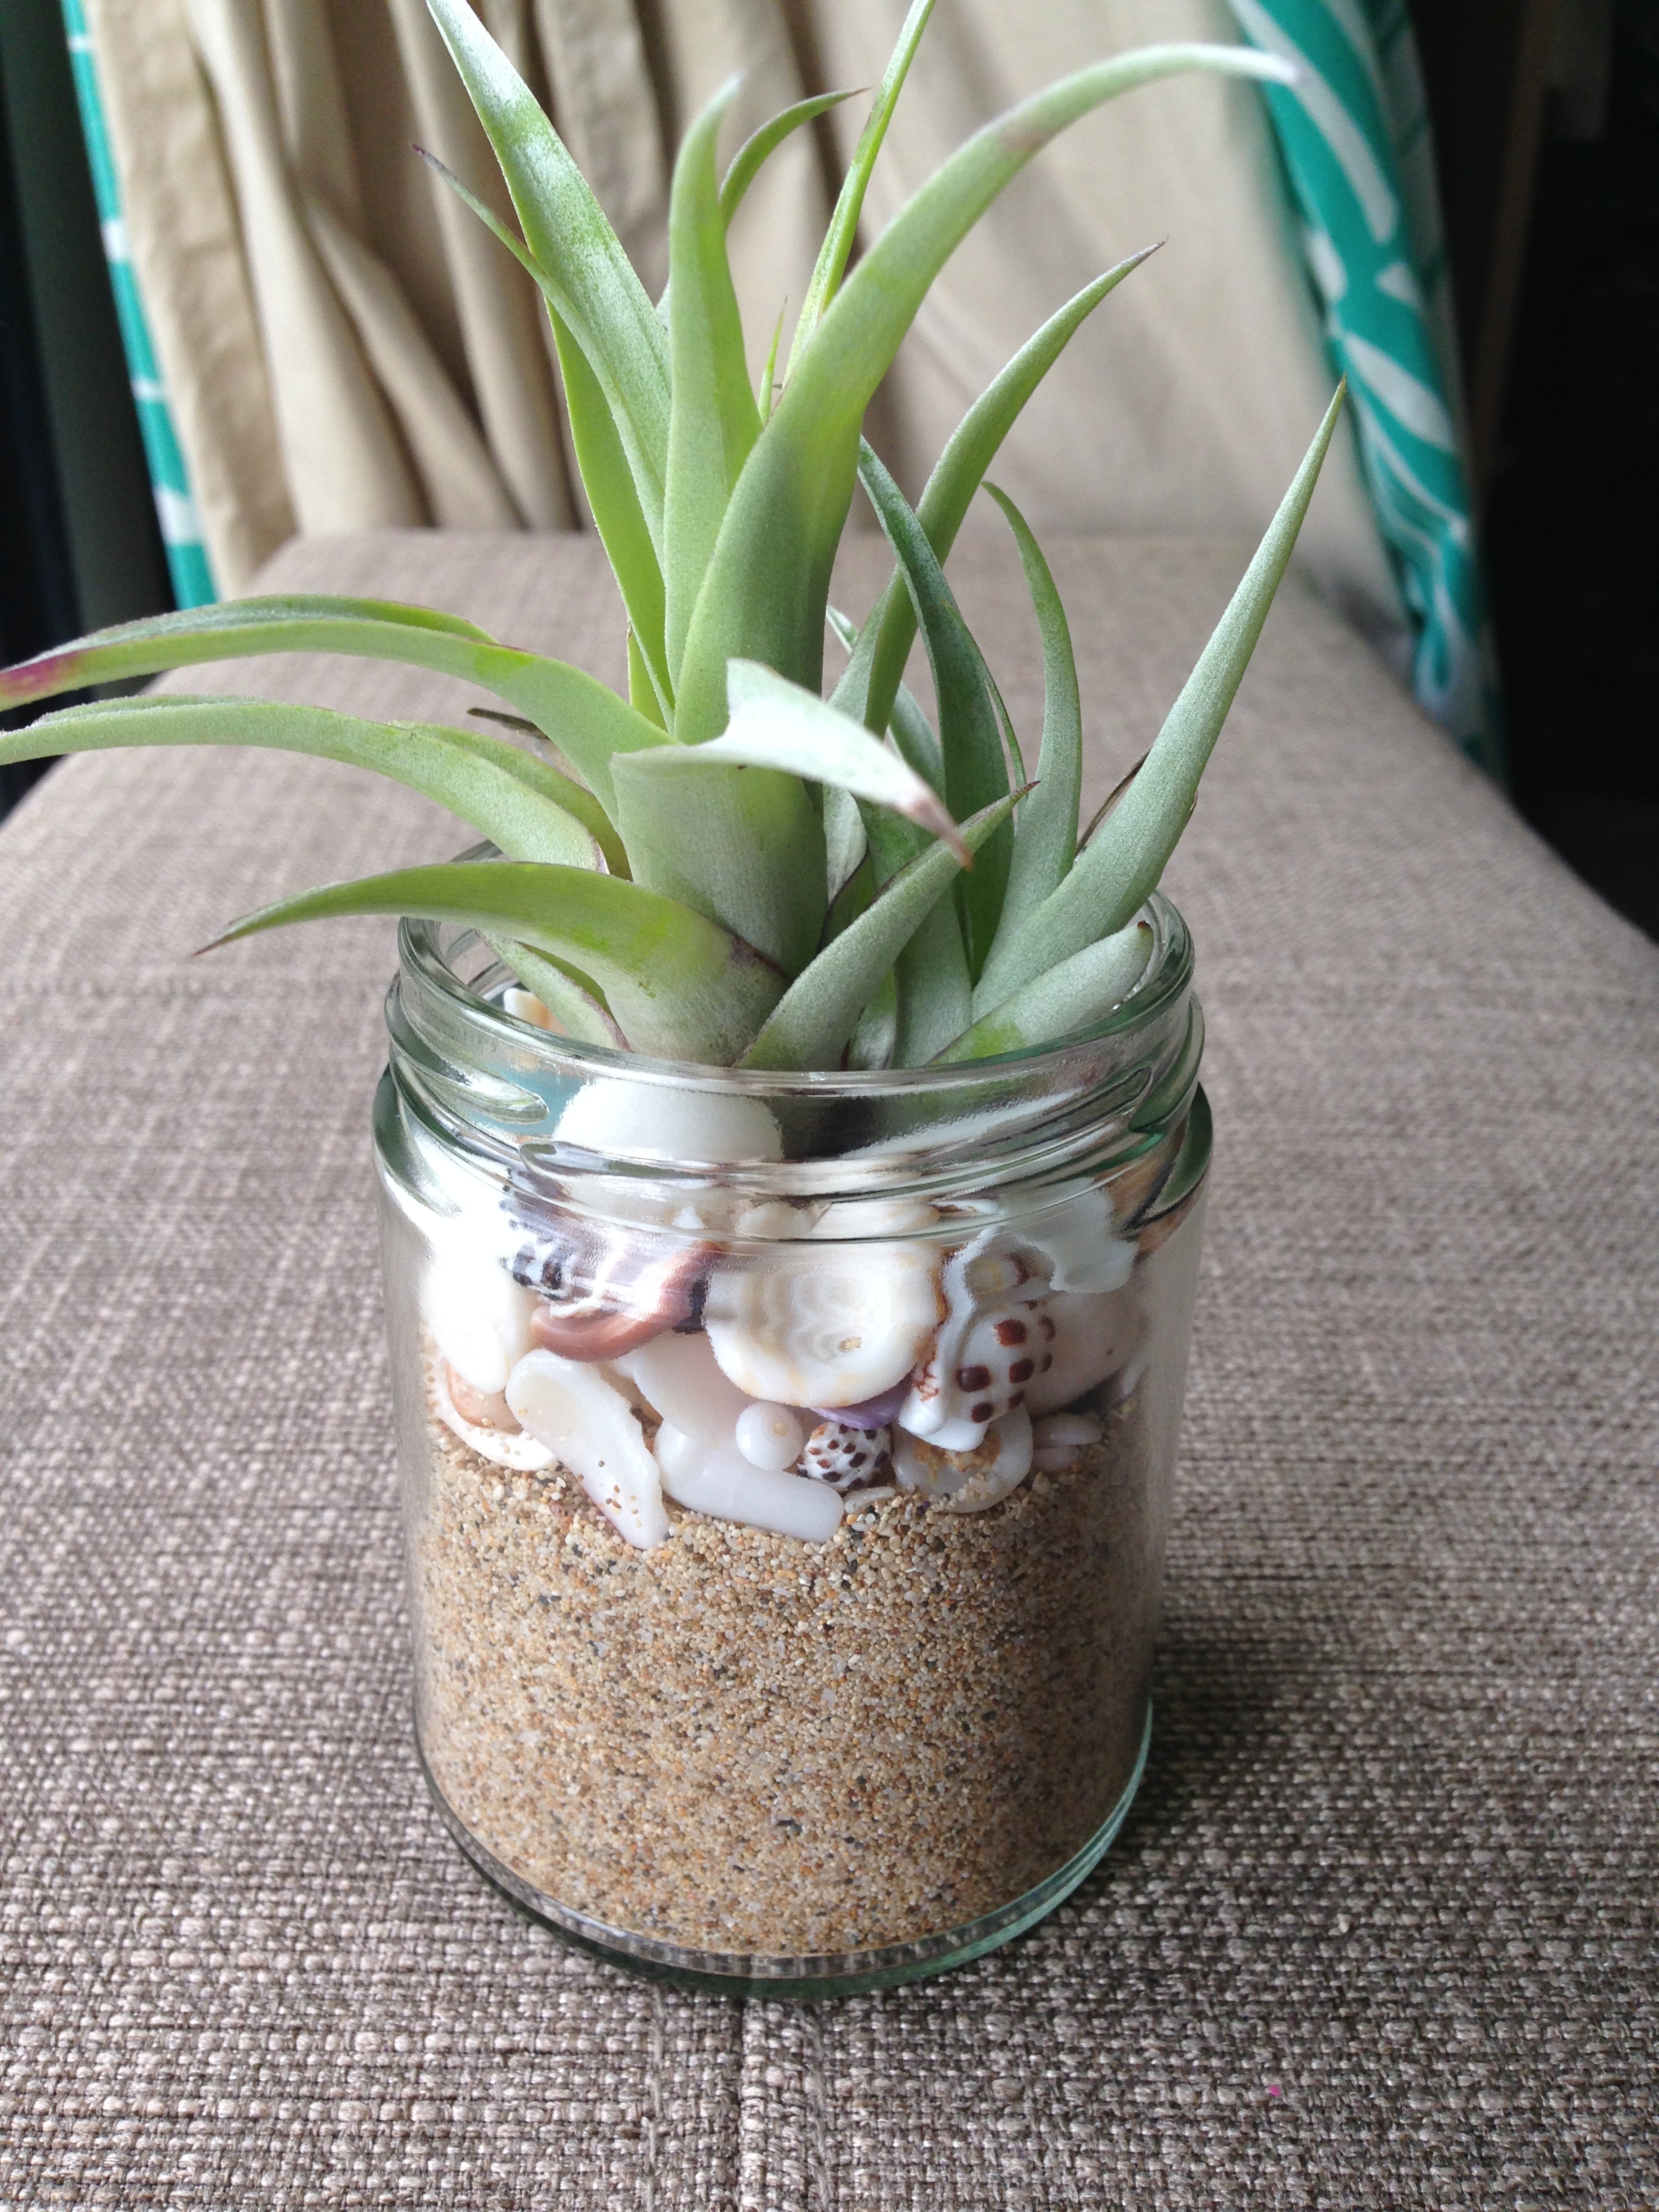
This simple and beachy DIY mobile is so easy and is a great way to display a collection of drift wood or other found beach treasures.
What you’ll need:
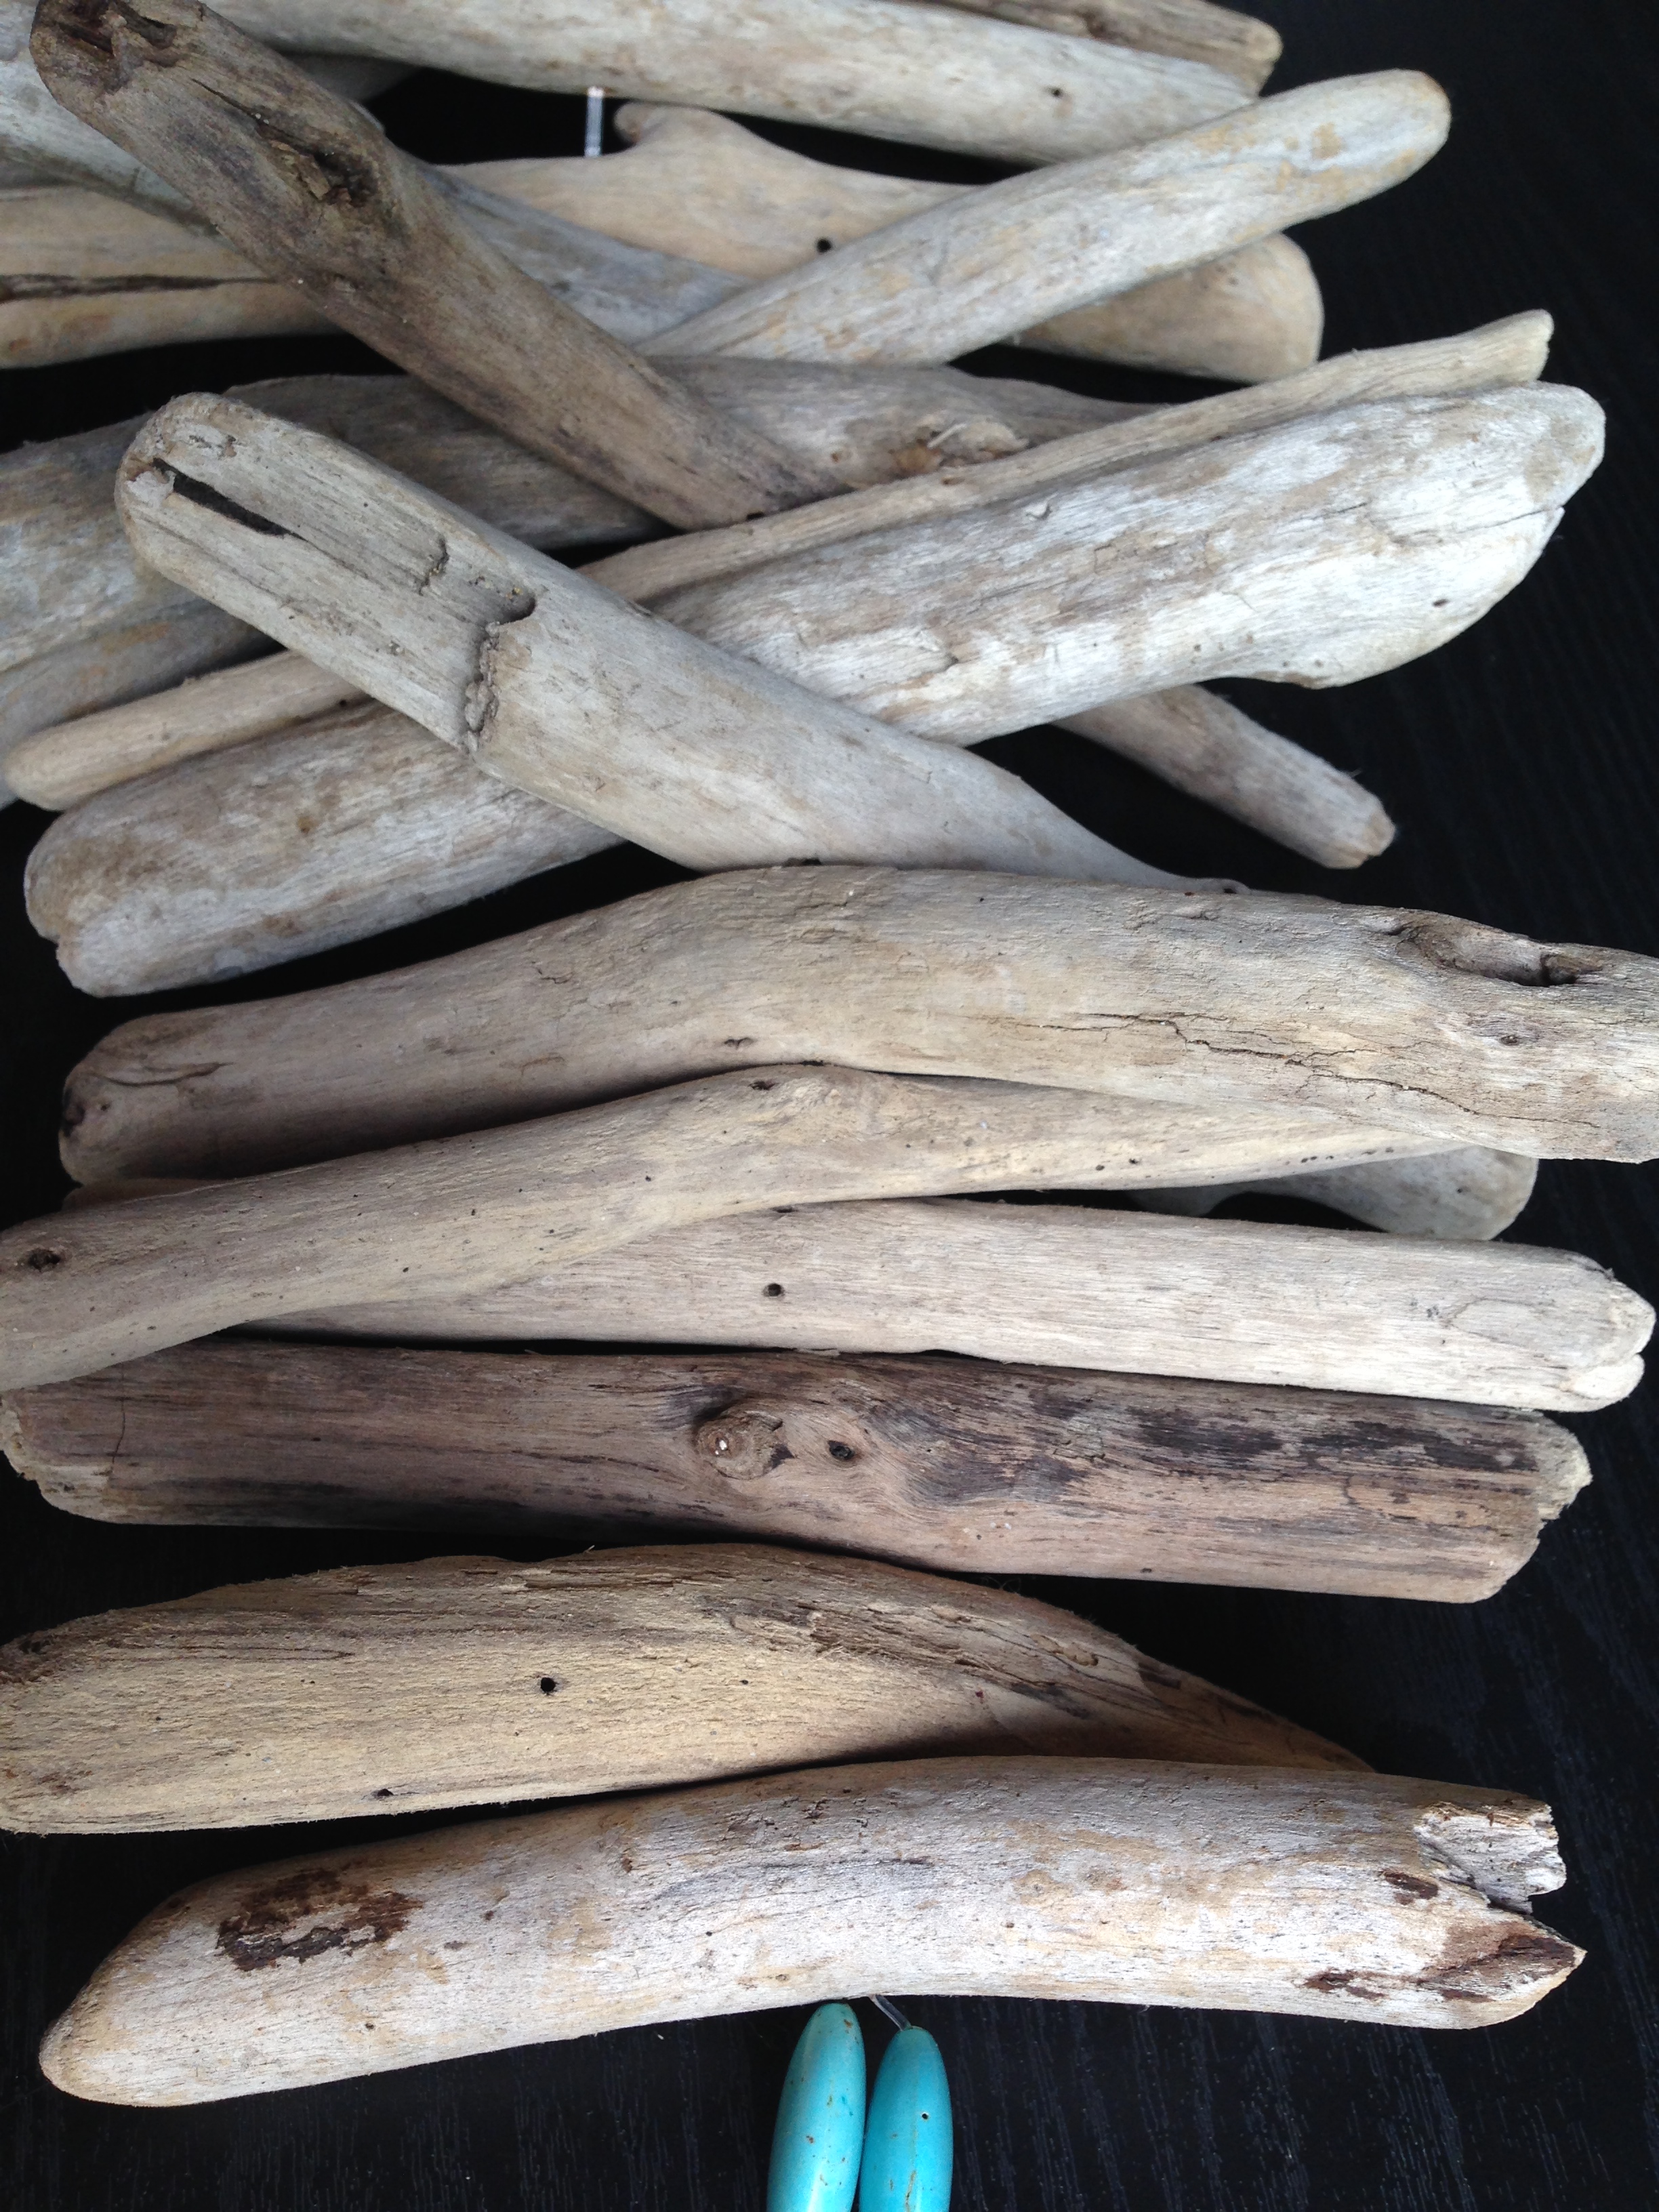
Several pieces of drift wood, any shape or length under about 9in
Fishing line, anything over 20lb test
Drill or dremel
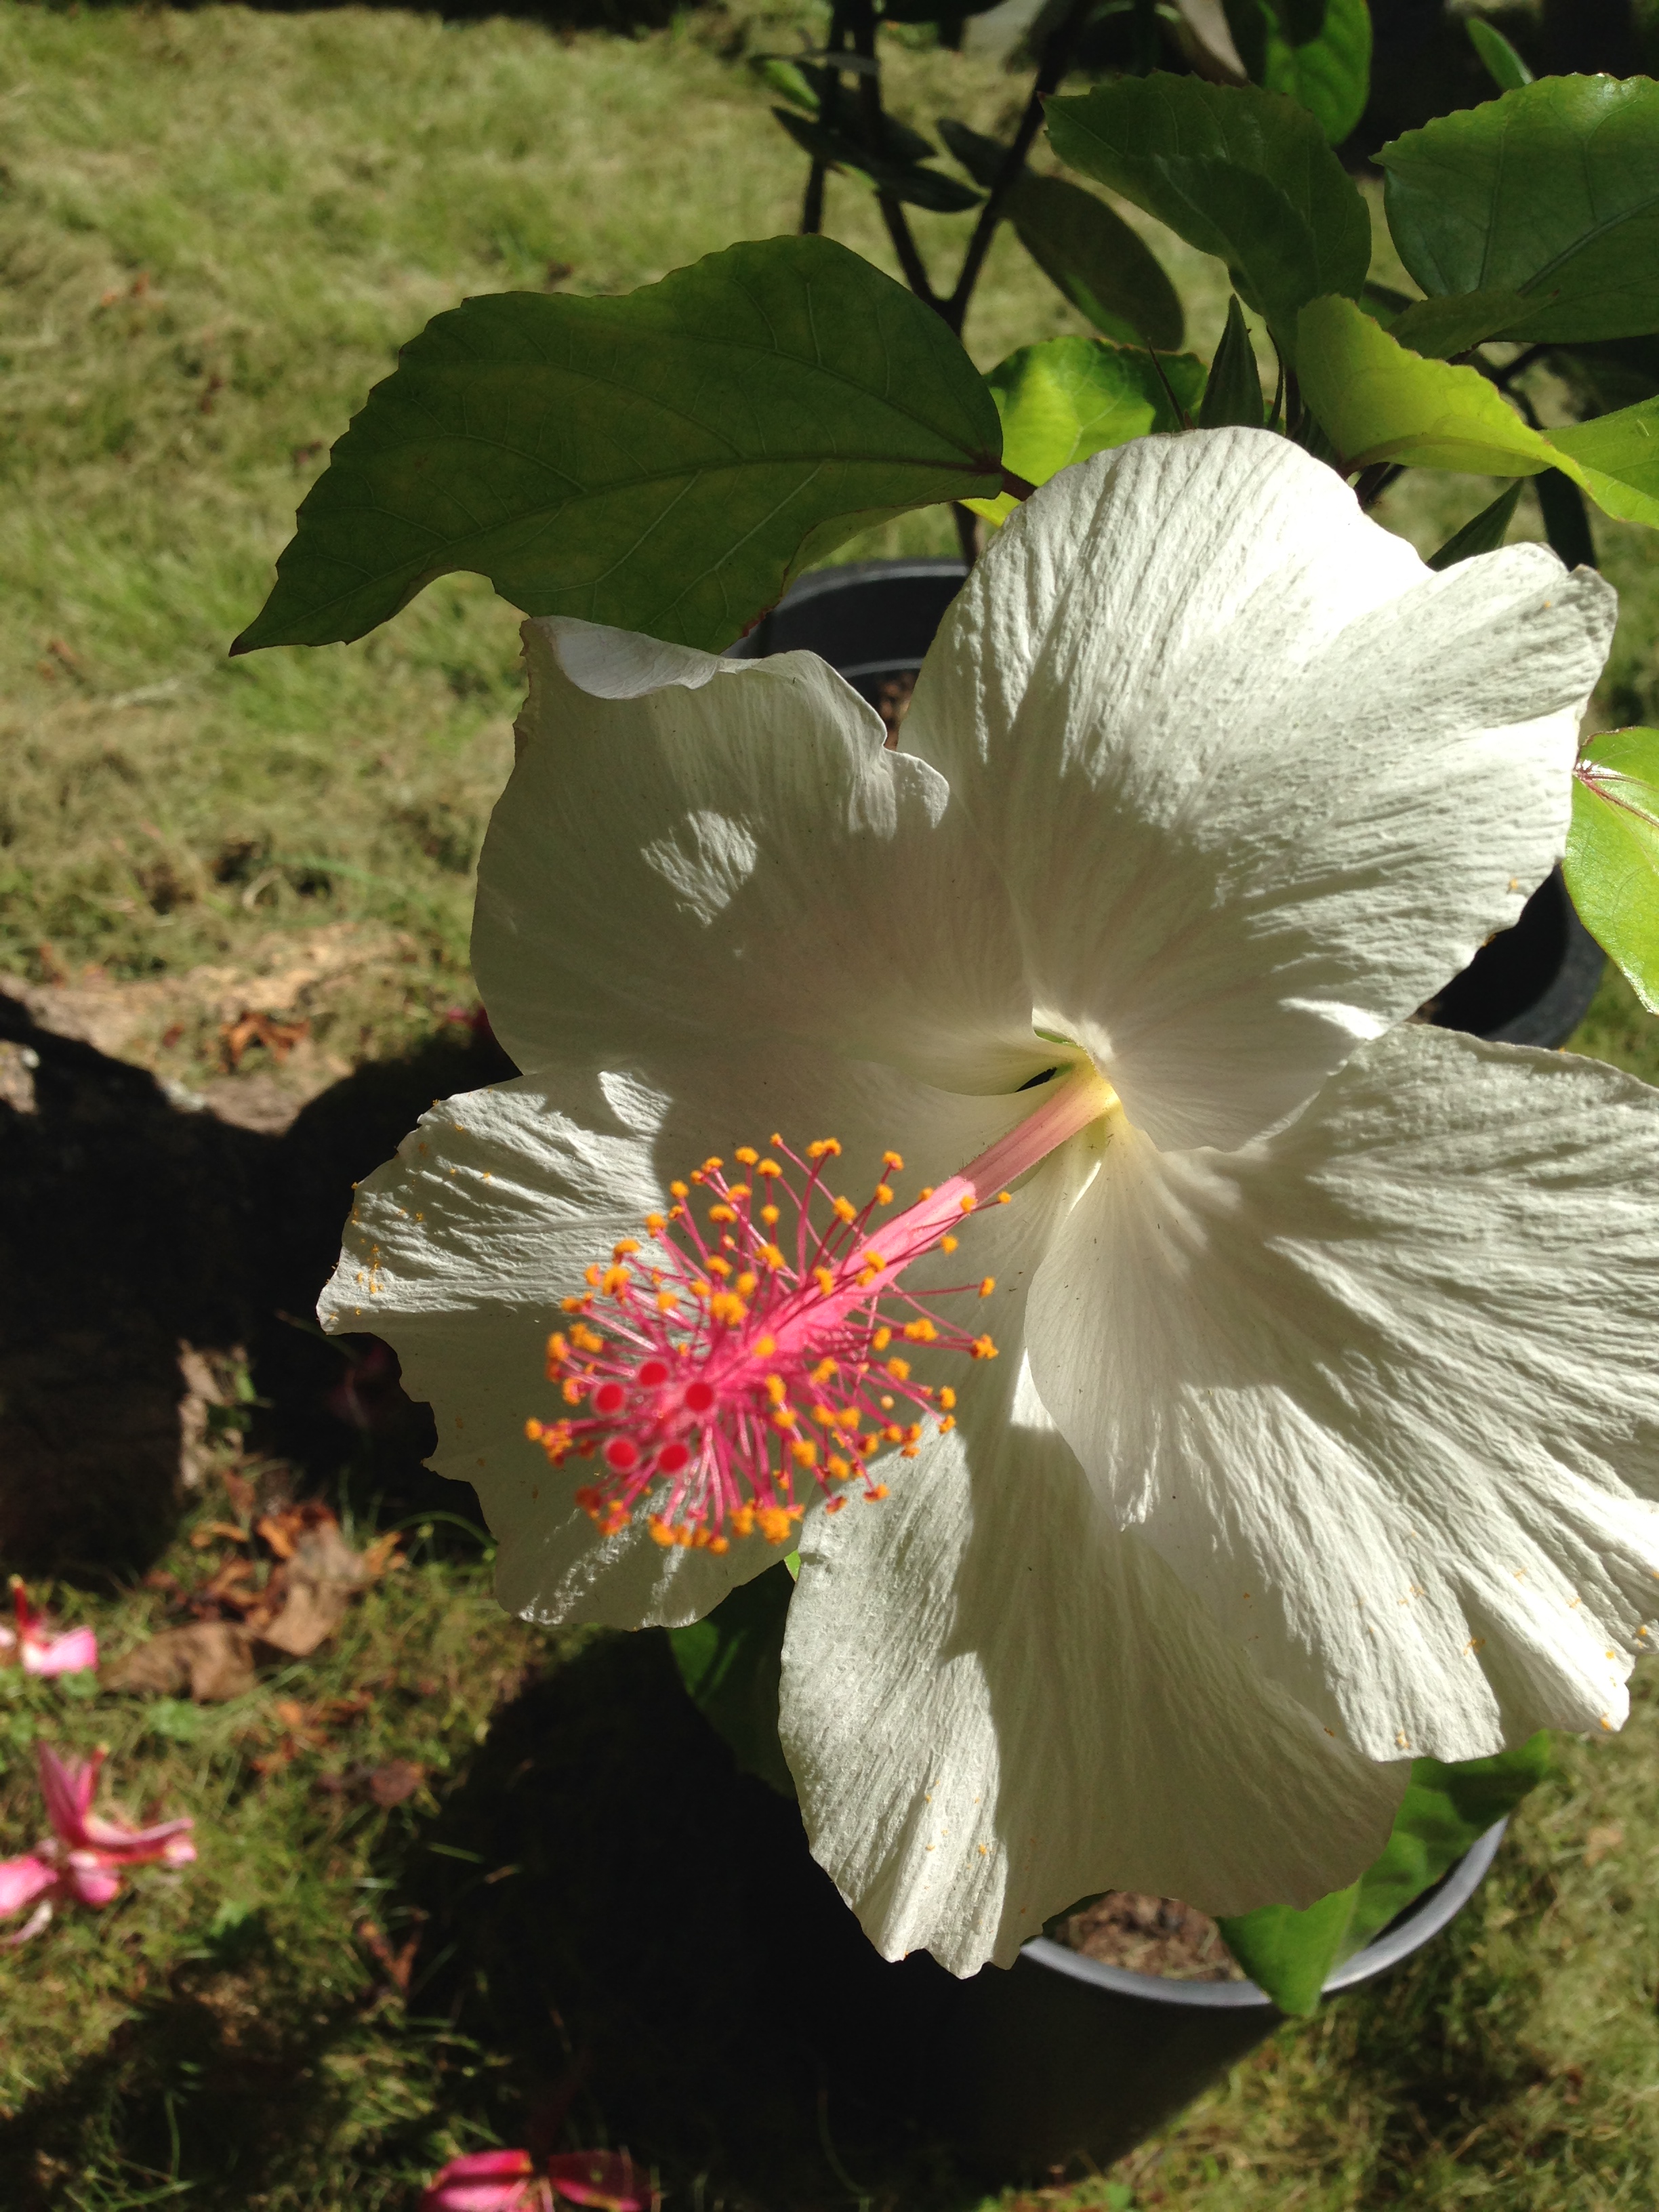
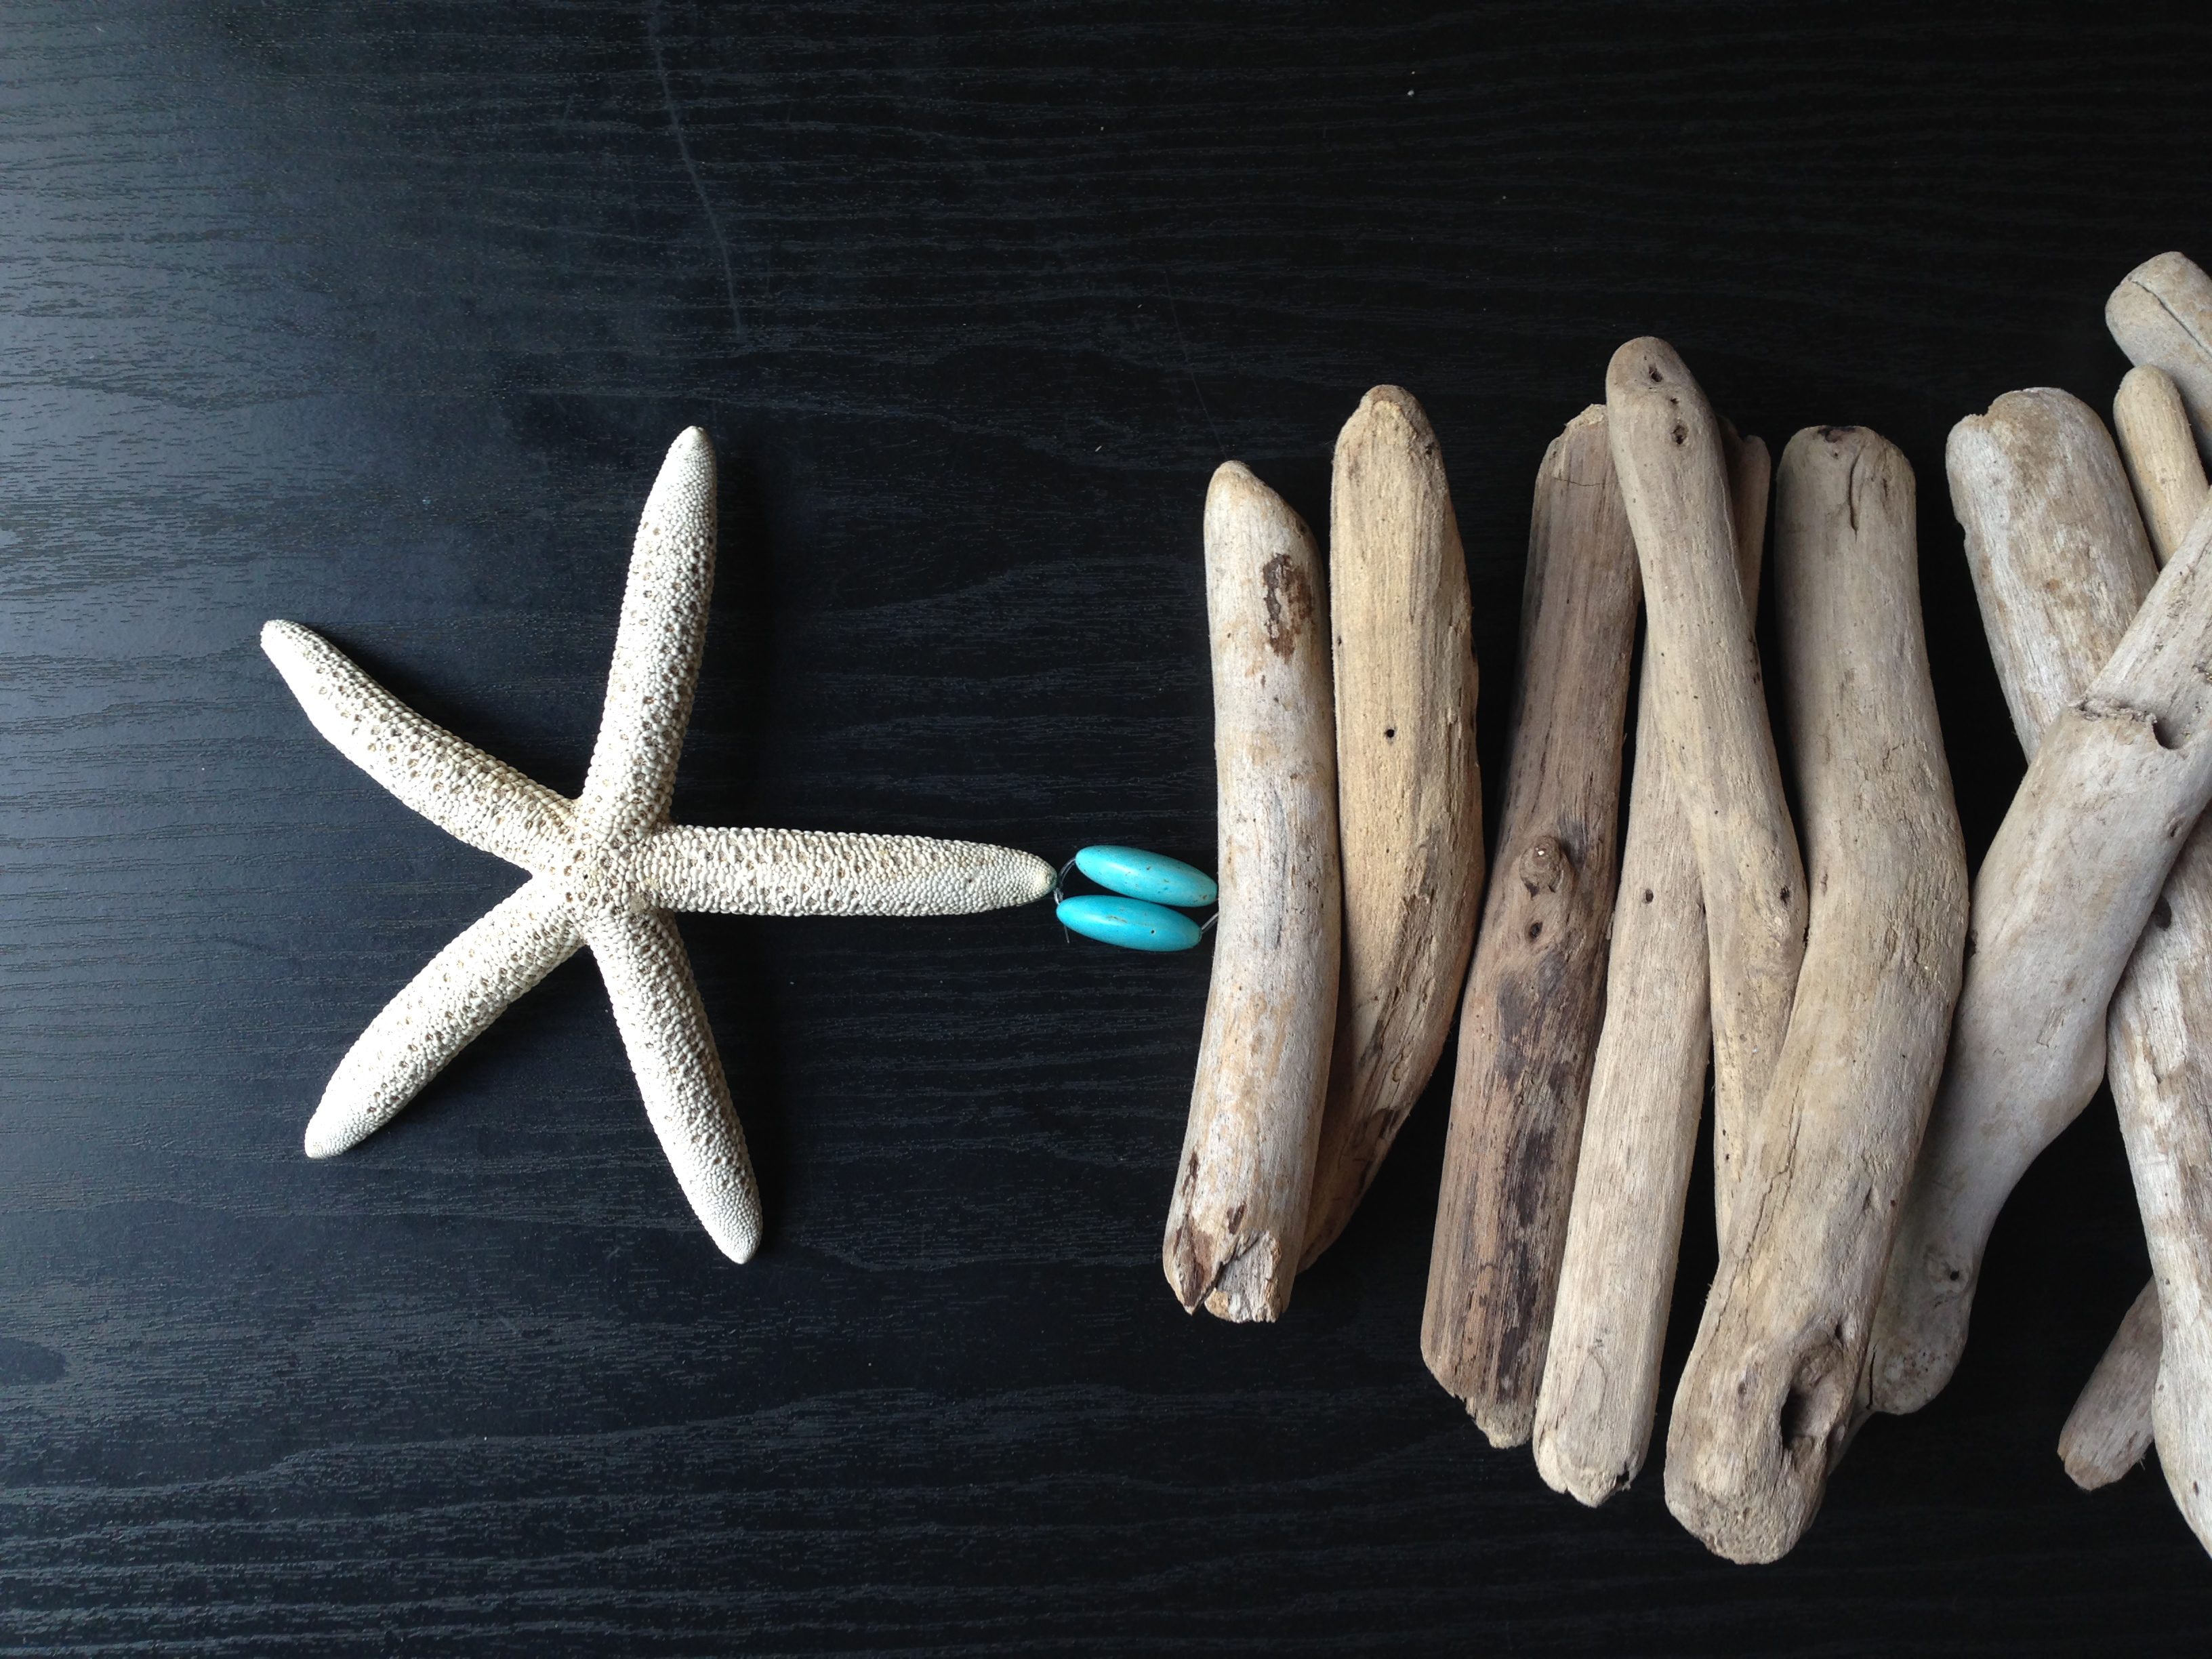
Starfish, or any item you’d like to finish your mobile with
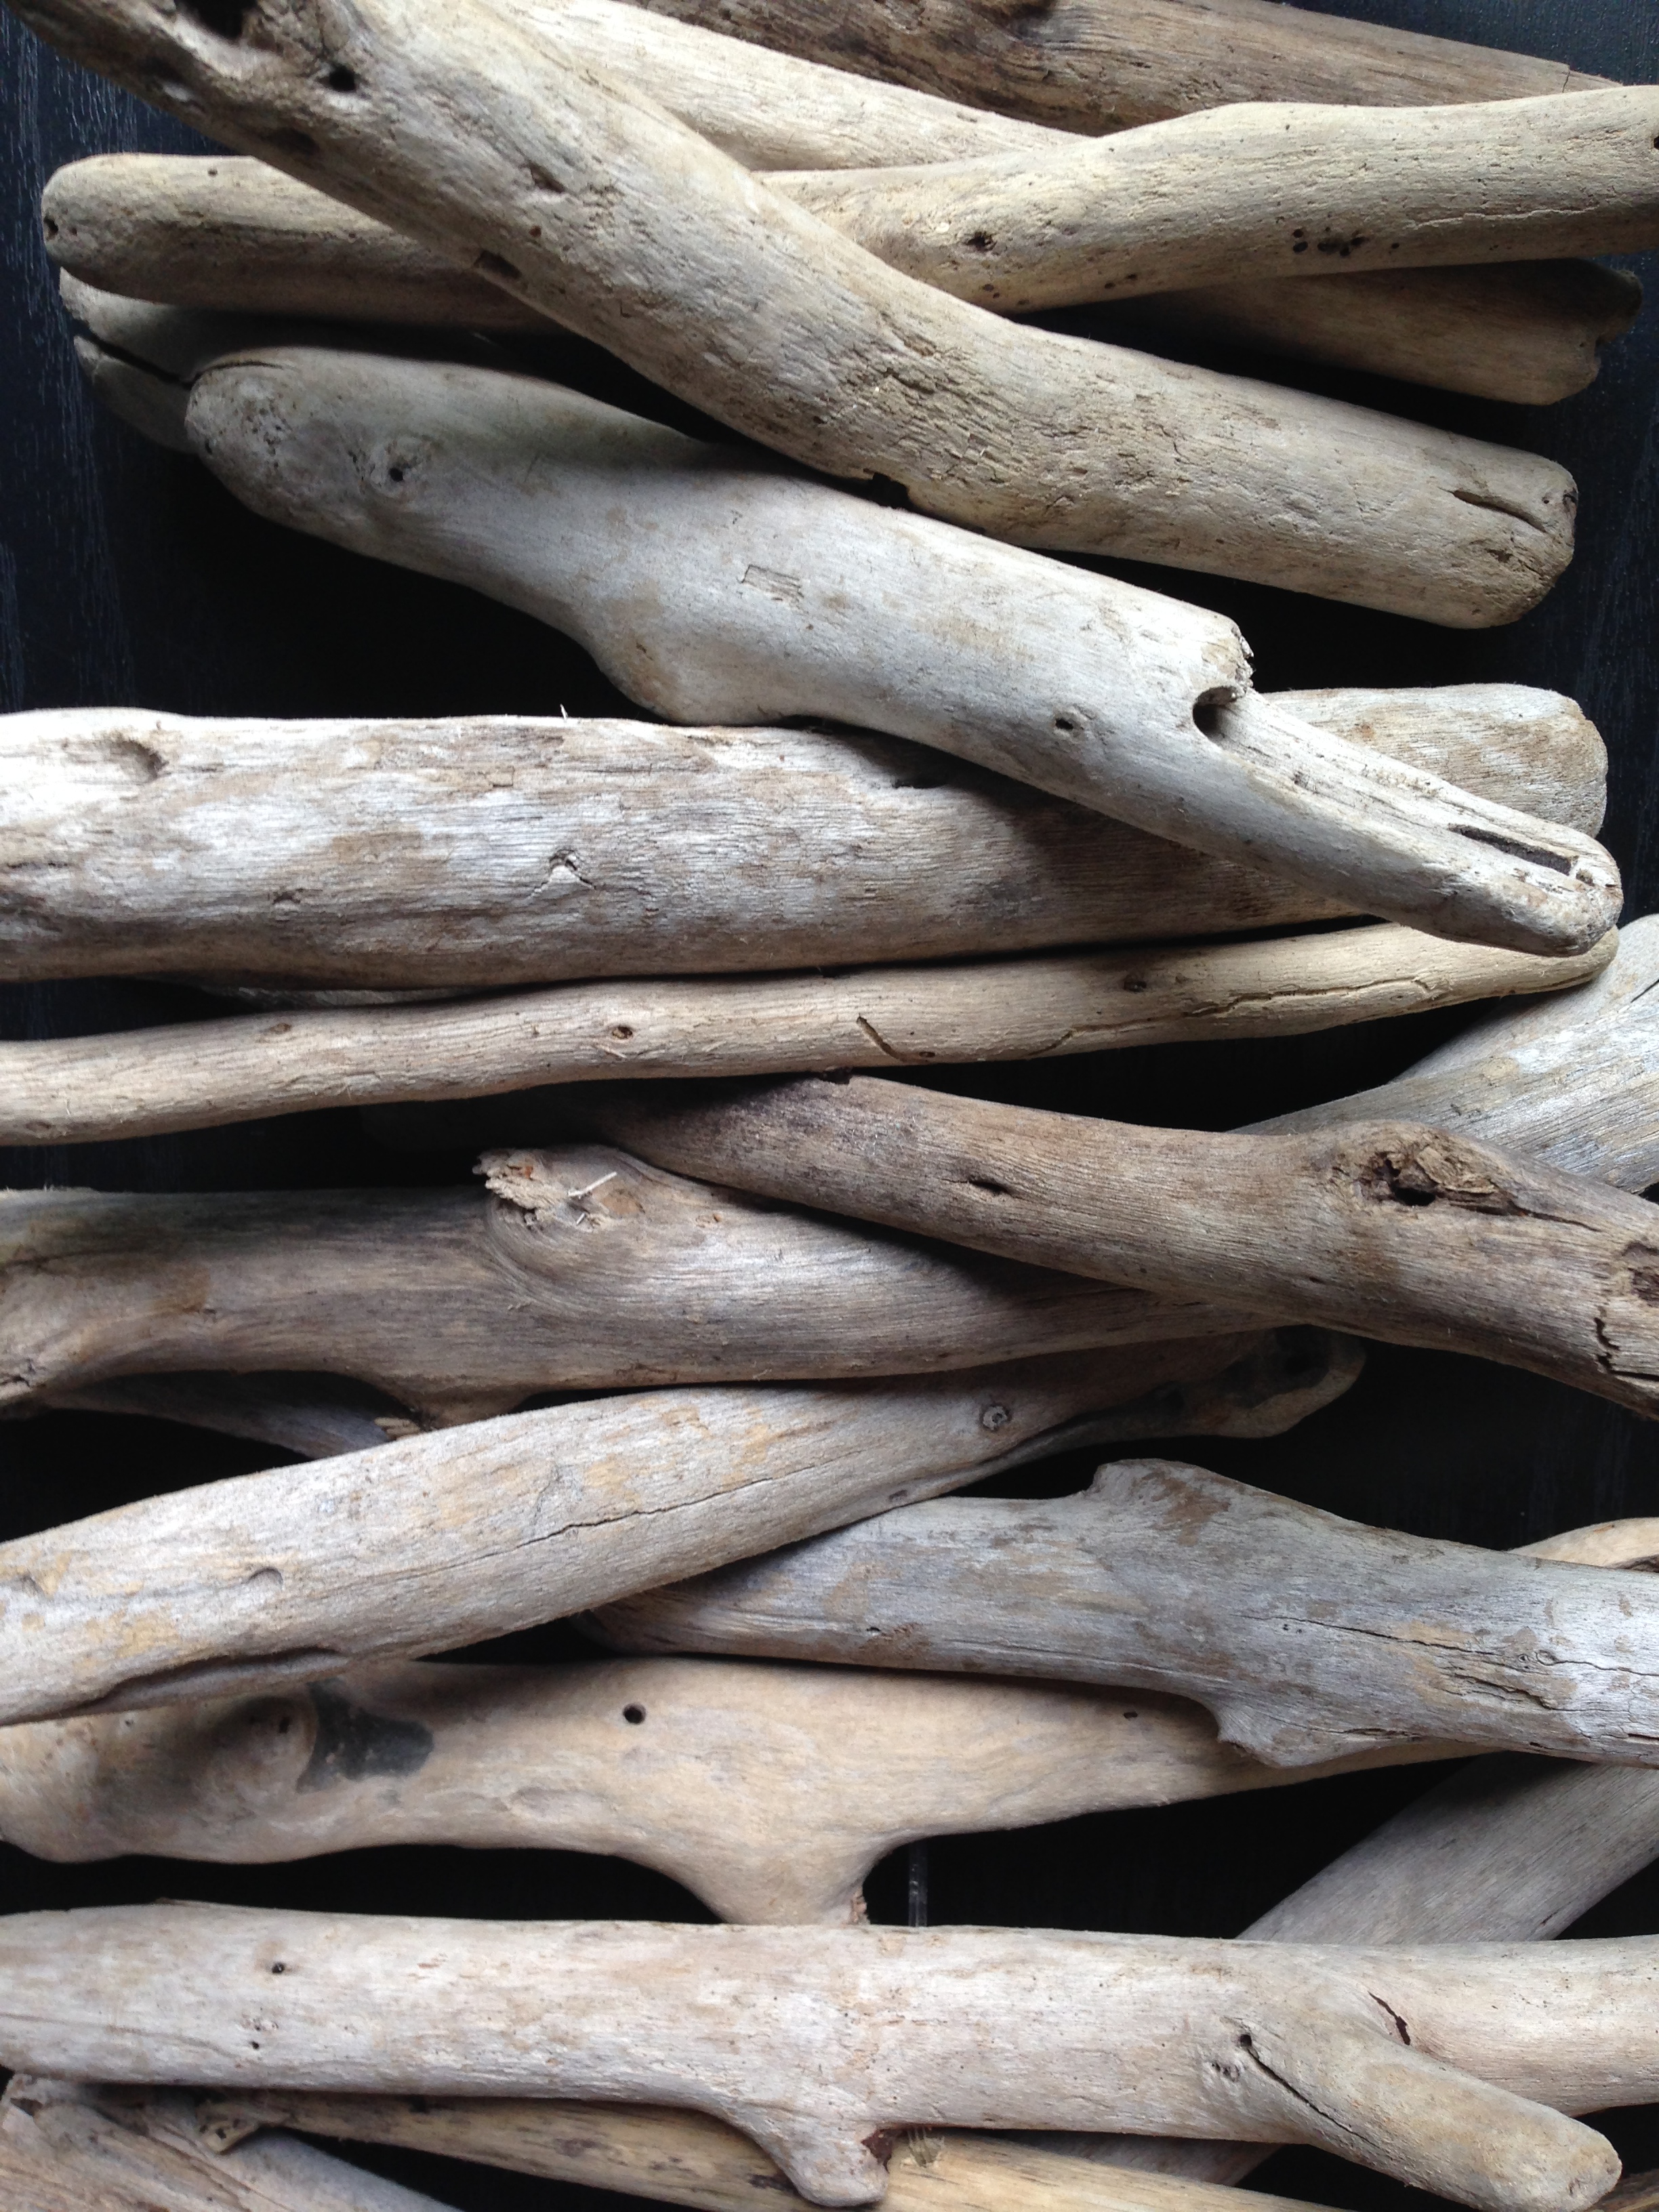
Collect and sort your drift wood. I arranged this one with the longest up top, tapering down with the shortest last.

Drill holes in the center of each piece of wood. The drift wood is fairly soft and will drill easily. I used 2 turquoise beads about an inch long to act as the stopper at the bottom of the mobile. Attached whatever you’re using as the stopper and then begin stringing your wood pieces from smallest to largest.
 Once you’re done stringing your wood lengths, secure the top of the mobile by tying a knot in the fishing line. With a small drill bit, or even a thick needle, create a hole in the top of the starfish or other item you’re using at the bottom of your mobile. I used thinner fishing line to attach it to the bottom.
Using a drywall anchor and hook, position and secure mobile.