Shibori is a time honored tradition in Japanese culture of textiles being intricately prepared for indigo colored dye baths through various types of resist techniques including wood planks, round pipe shaped objects and twine wrapping. The masters of this craft vary from traditional artisans learning from generations before, to modern day artists researching, experimenting and learning on their own. This tutorial is simple, easy way using the work Shibori in it’s simplest translation. The time, dedication and effort put forth by those who truly study and work to master these techniques (the same for any medium) deserves the appropriate respect and honor. That being said, this tutorial is a very simple process to create beautiful, tea towels.
What you’ll need:
White tea towels
Rubberbands
Dye (we used RIT Royal Blue & Aquamarine)
Rubber gloves
Plastic buckets
Clothesline
Clothespins


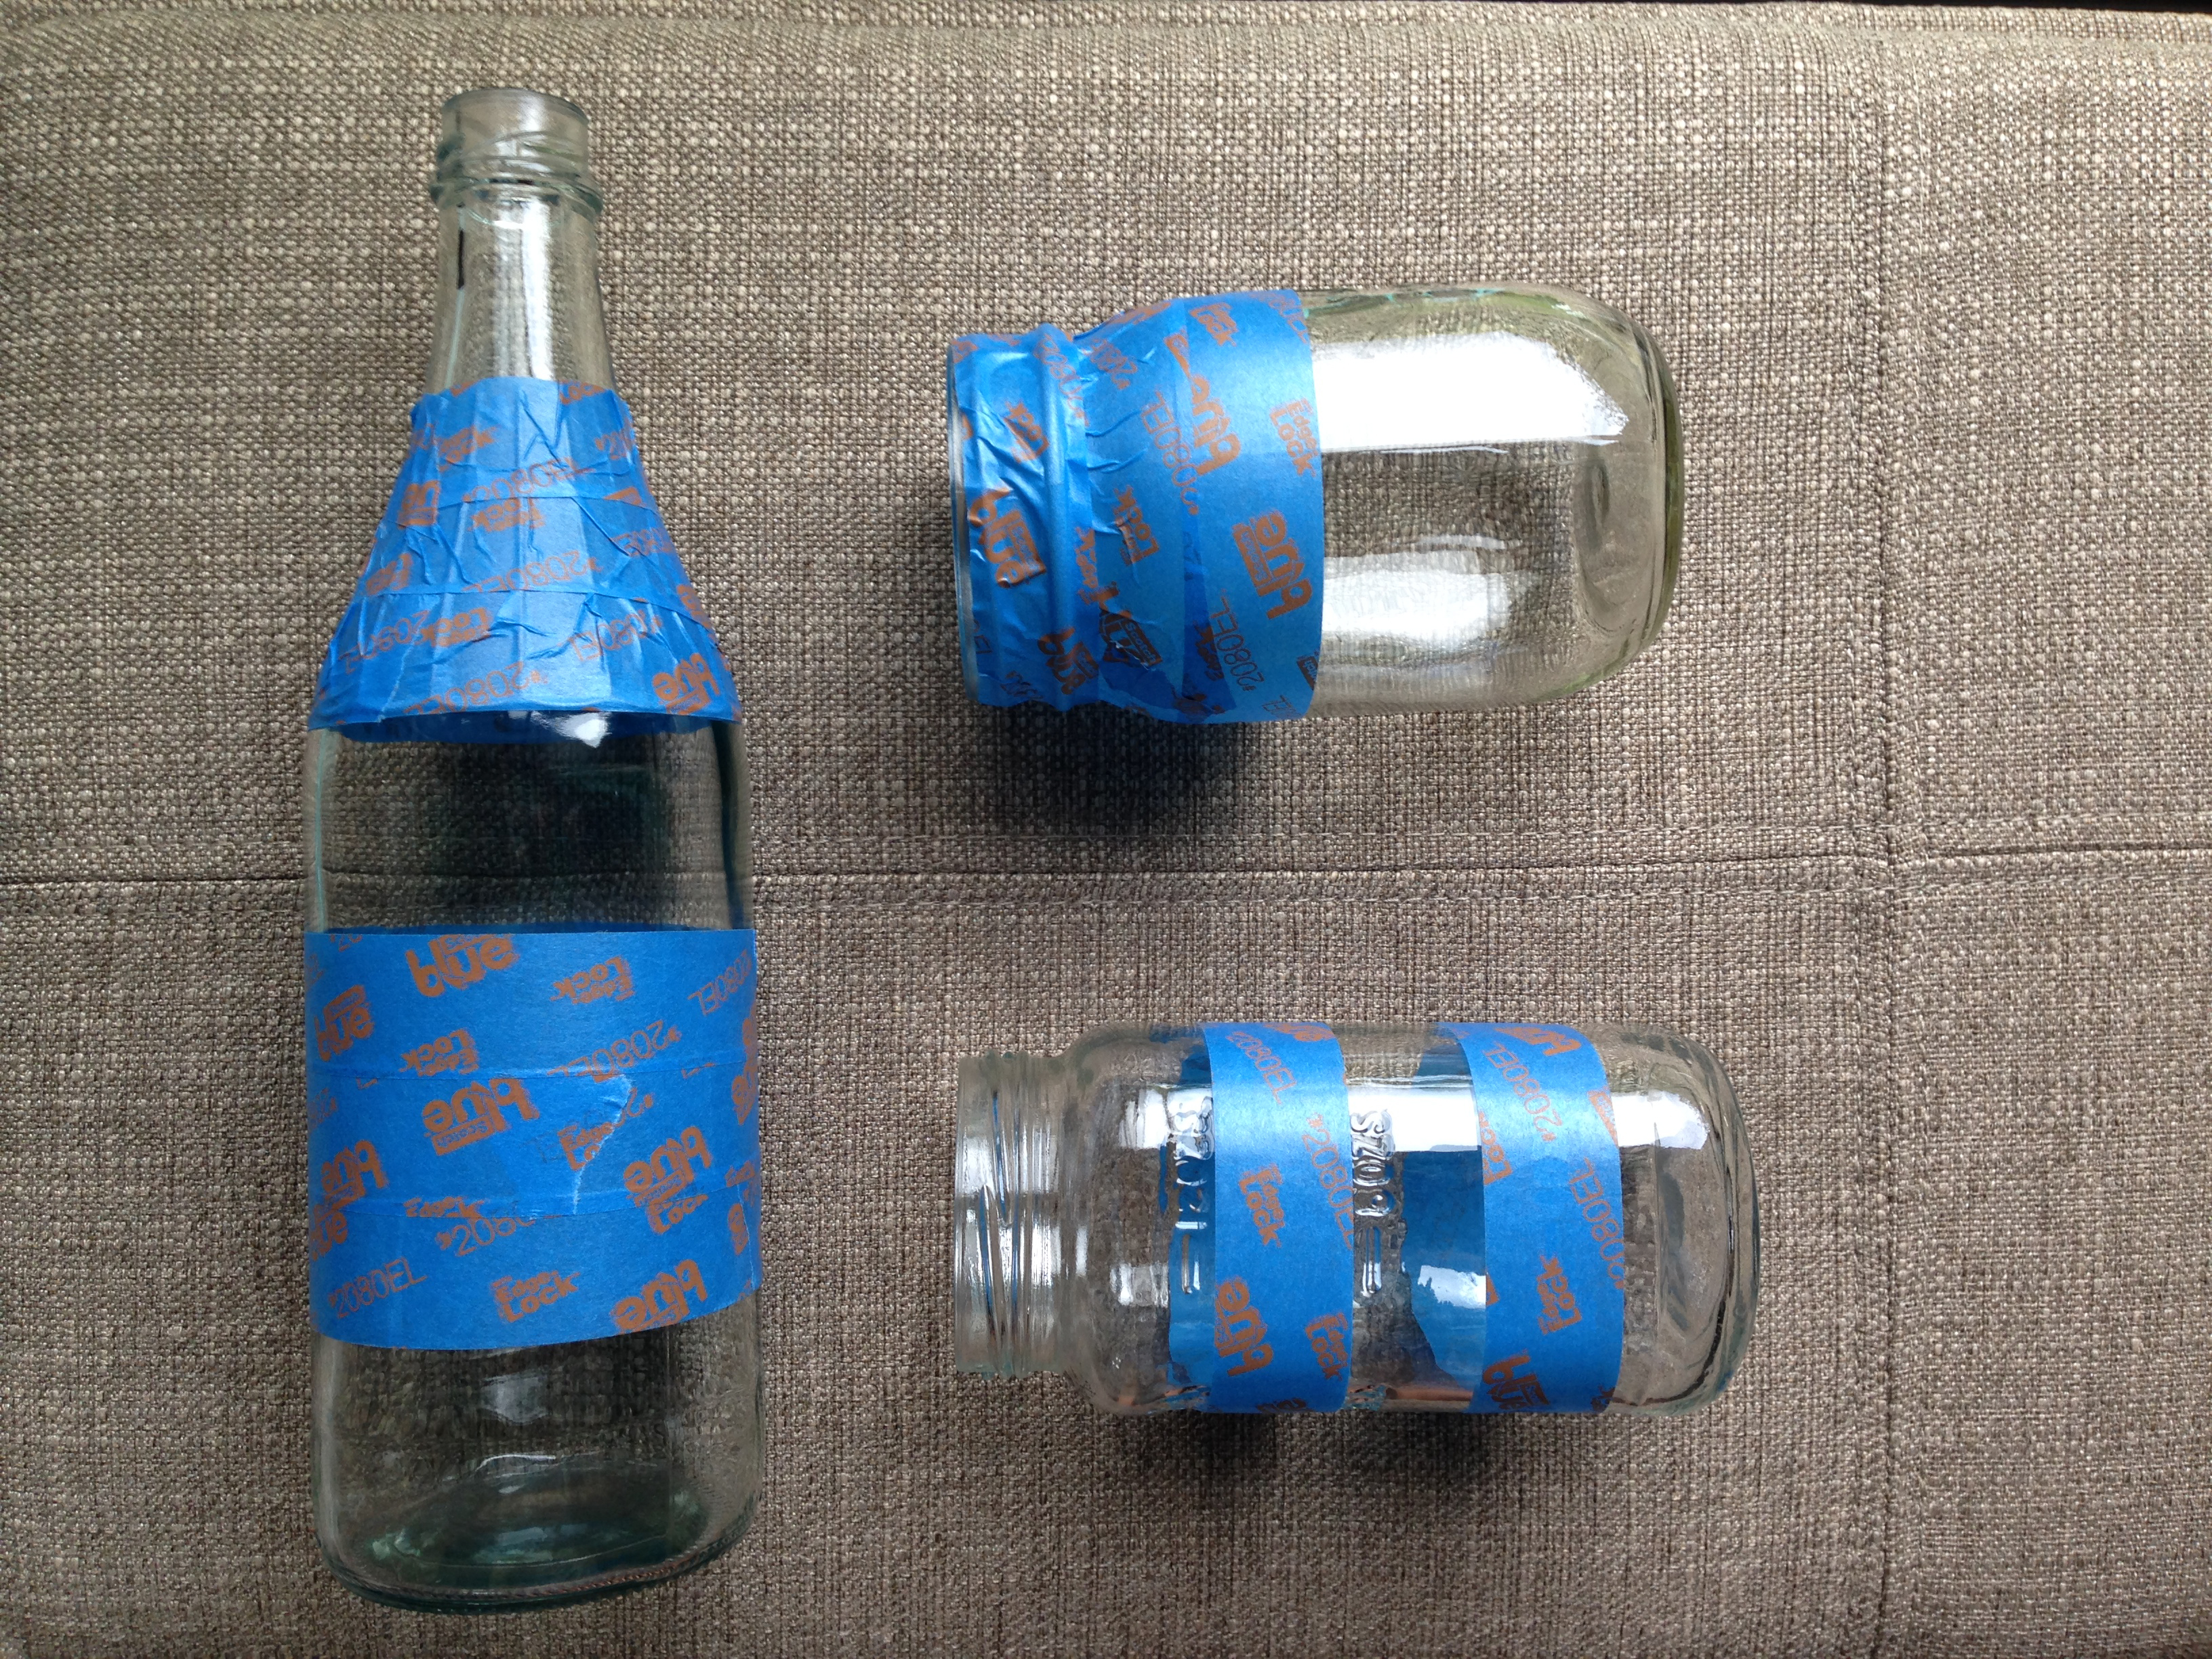
There are several ways to prepare the towels for the dye resist. We stuck to two of the more simple yet ultimately gorgeous styles –
1) Accordion fold the towel (anywhere from 1-2 inch folds) all from top to bottom creating a long strip, then accordion fold lengthwise until you have a rectangular ‘stack’ of a towel. Wrap the rubber bands around the towel using as many, or as few as you’d like. The more rubber bands you use, the more white you’ll have remaining on your finished towel. The rubber bands should be somewhat secure to resist the dye.
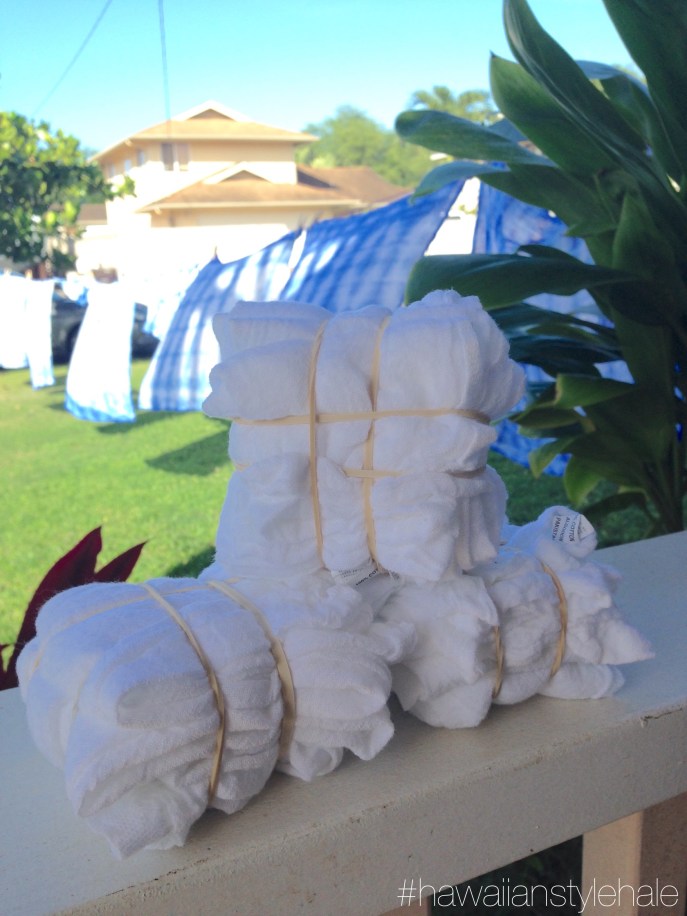
2) The second method we used was literally a ‘kapakahi’ (anykine) method. Scrunch the towel up in a ball and wrap as many rubber bands around the ball as you’d like.
Follow the instructions and prepare your days bath. The RIT dye suggests adding salt for cotton fabrics. Quickly dampen your rubber banded towels before submerging them in the dye bath. The Aquamarine dye seemed to take a lot quicker than the Royal Blue did. Let the towels site for anywhere between 30 -60 minutes depending on how dark you want your final color. Keep in mind the final product will be lighter than when you first pull it out of the dye.

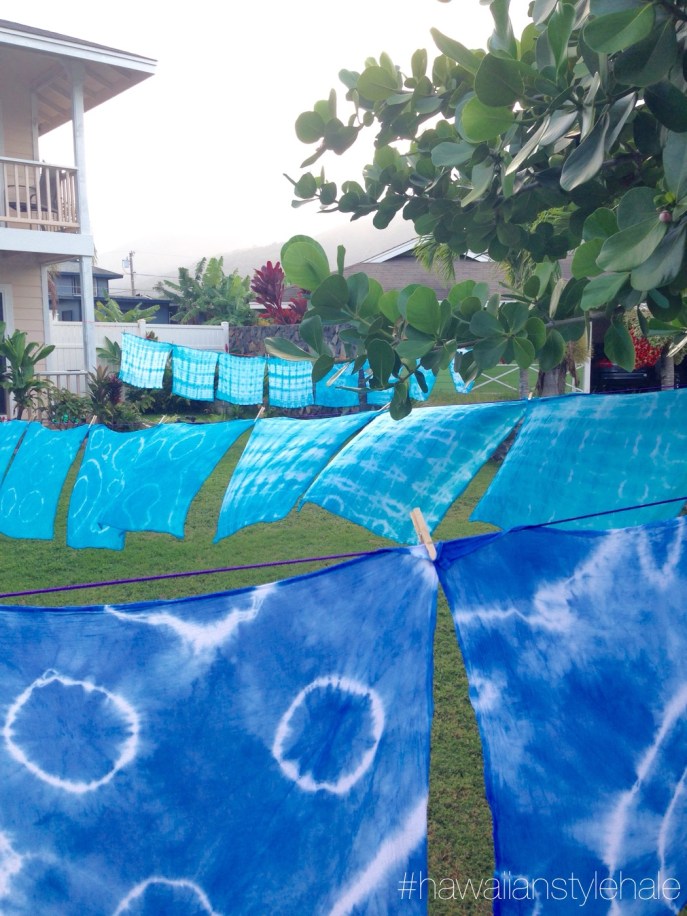
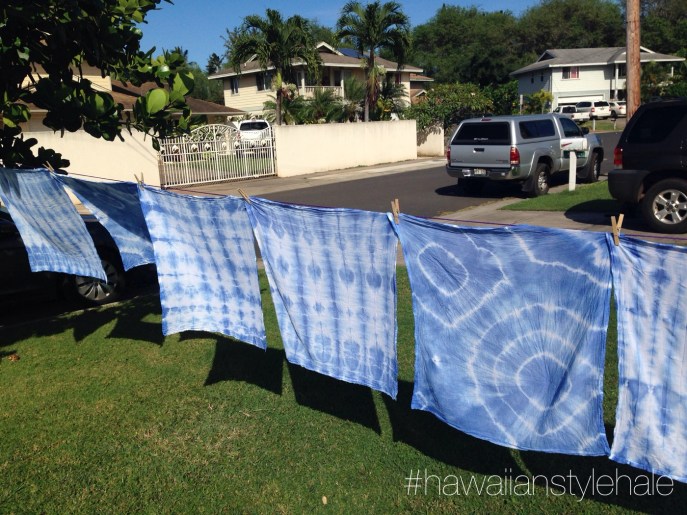
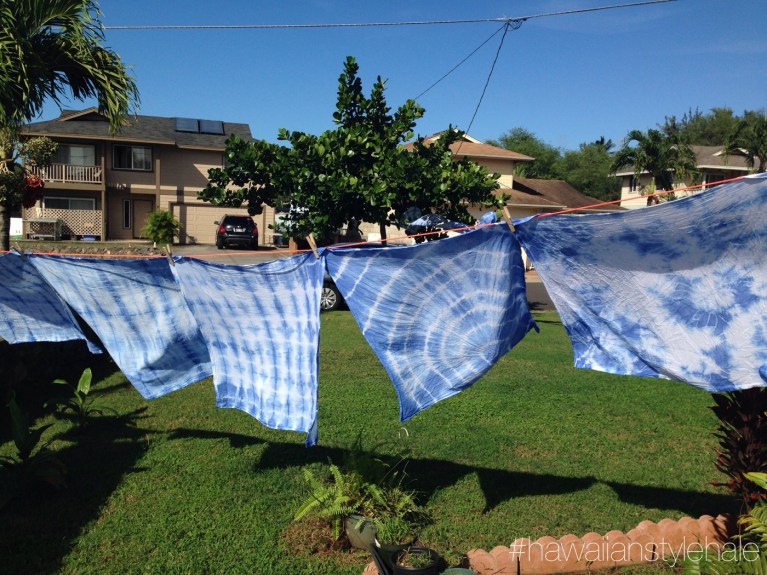
Once your dye time is up, rubber gloves on, rinse the towels until the water runs clear. Now comes my favorite part- slowly wring out any excess water, unwrap each of the towels and hang to dry. Each is towel is a unique creation and I want to say it’s almost fool proof. We unwrapped each one to oohing and aahing as they were all so pretty!
We let them air dry, ran them through the washer with no detergent and then dryer dried them. Our front yard looked like a folk concert / market and was so pretty! These were so much fun to make with girlfriends! Kids can help too! Wrap them up or use them as wrapping, half the fun is sharing your stunning creations! Enjoy!


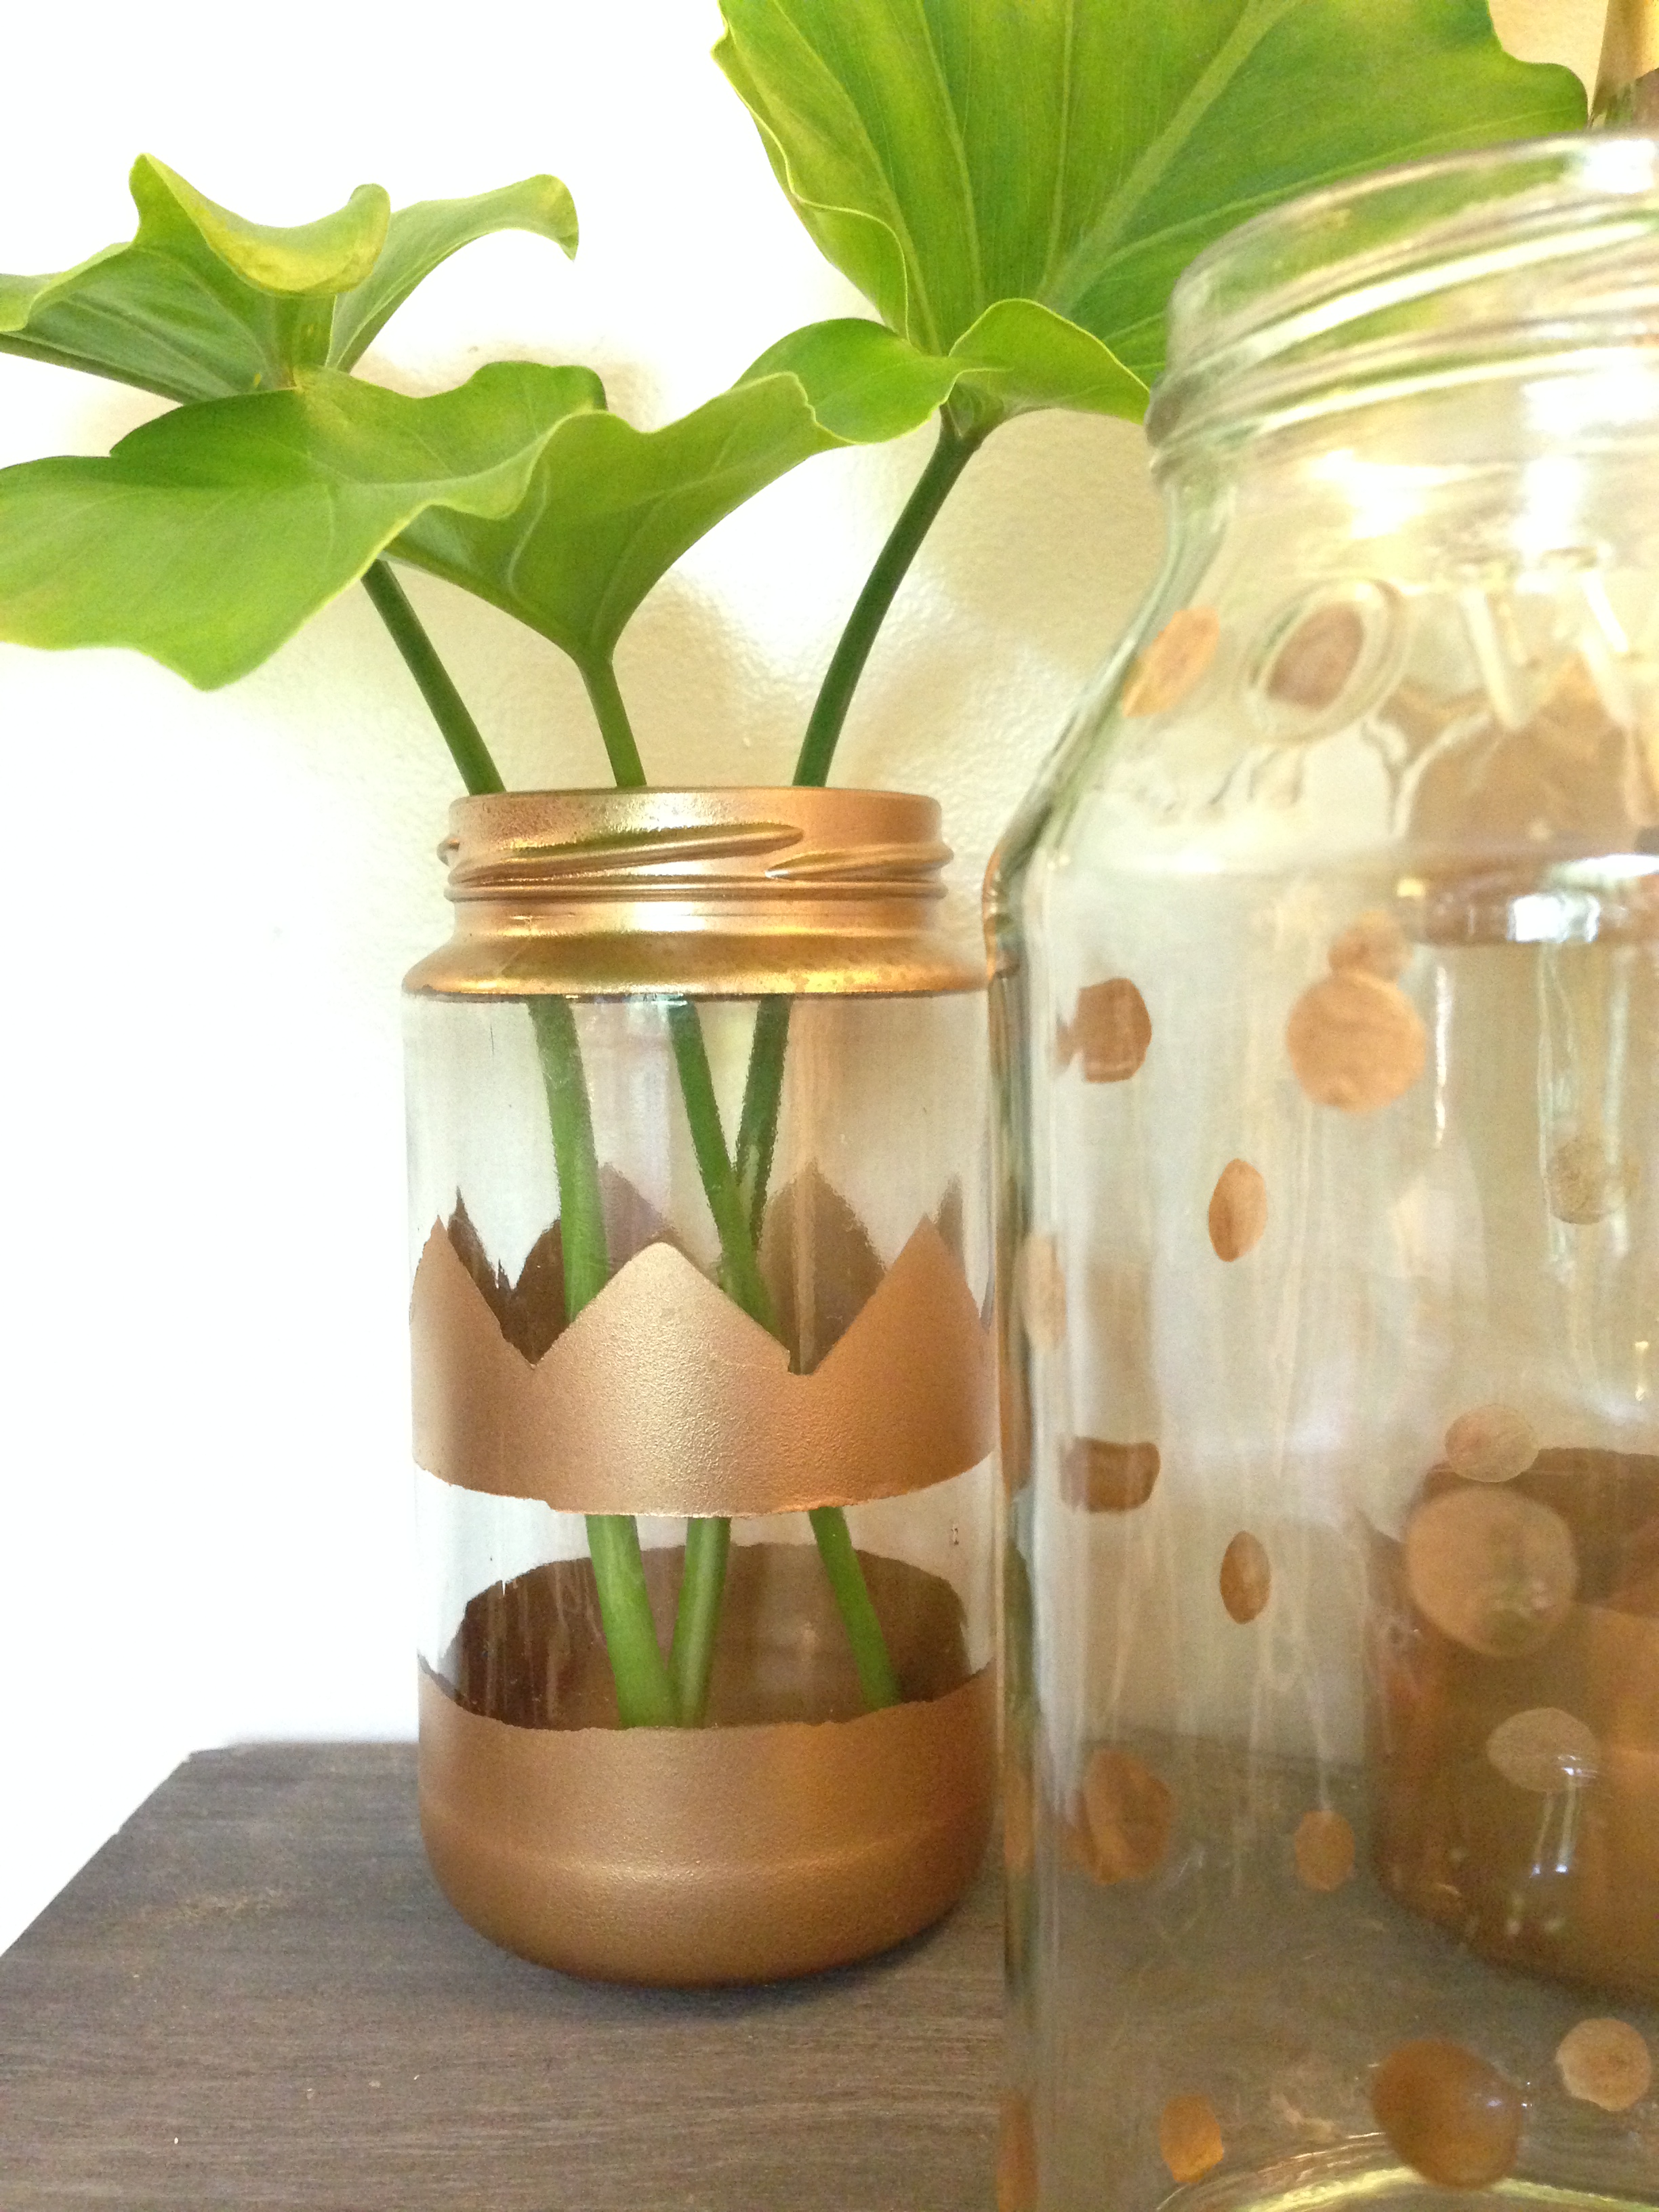
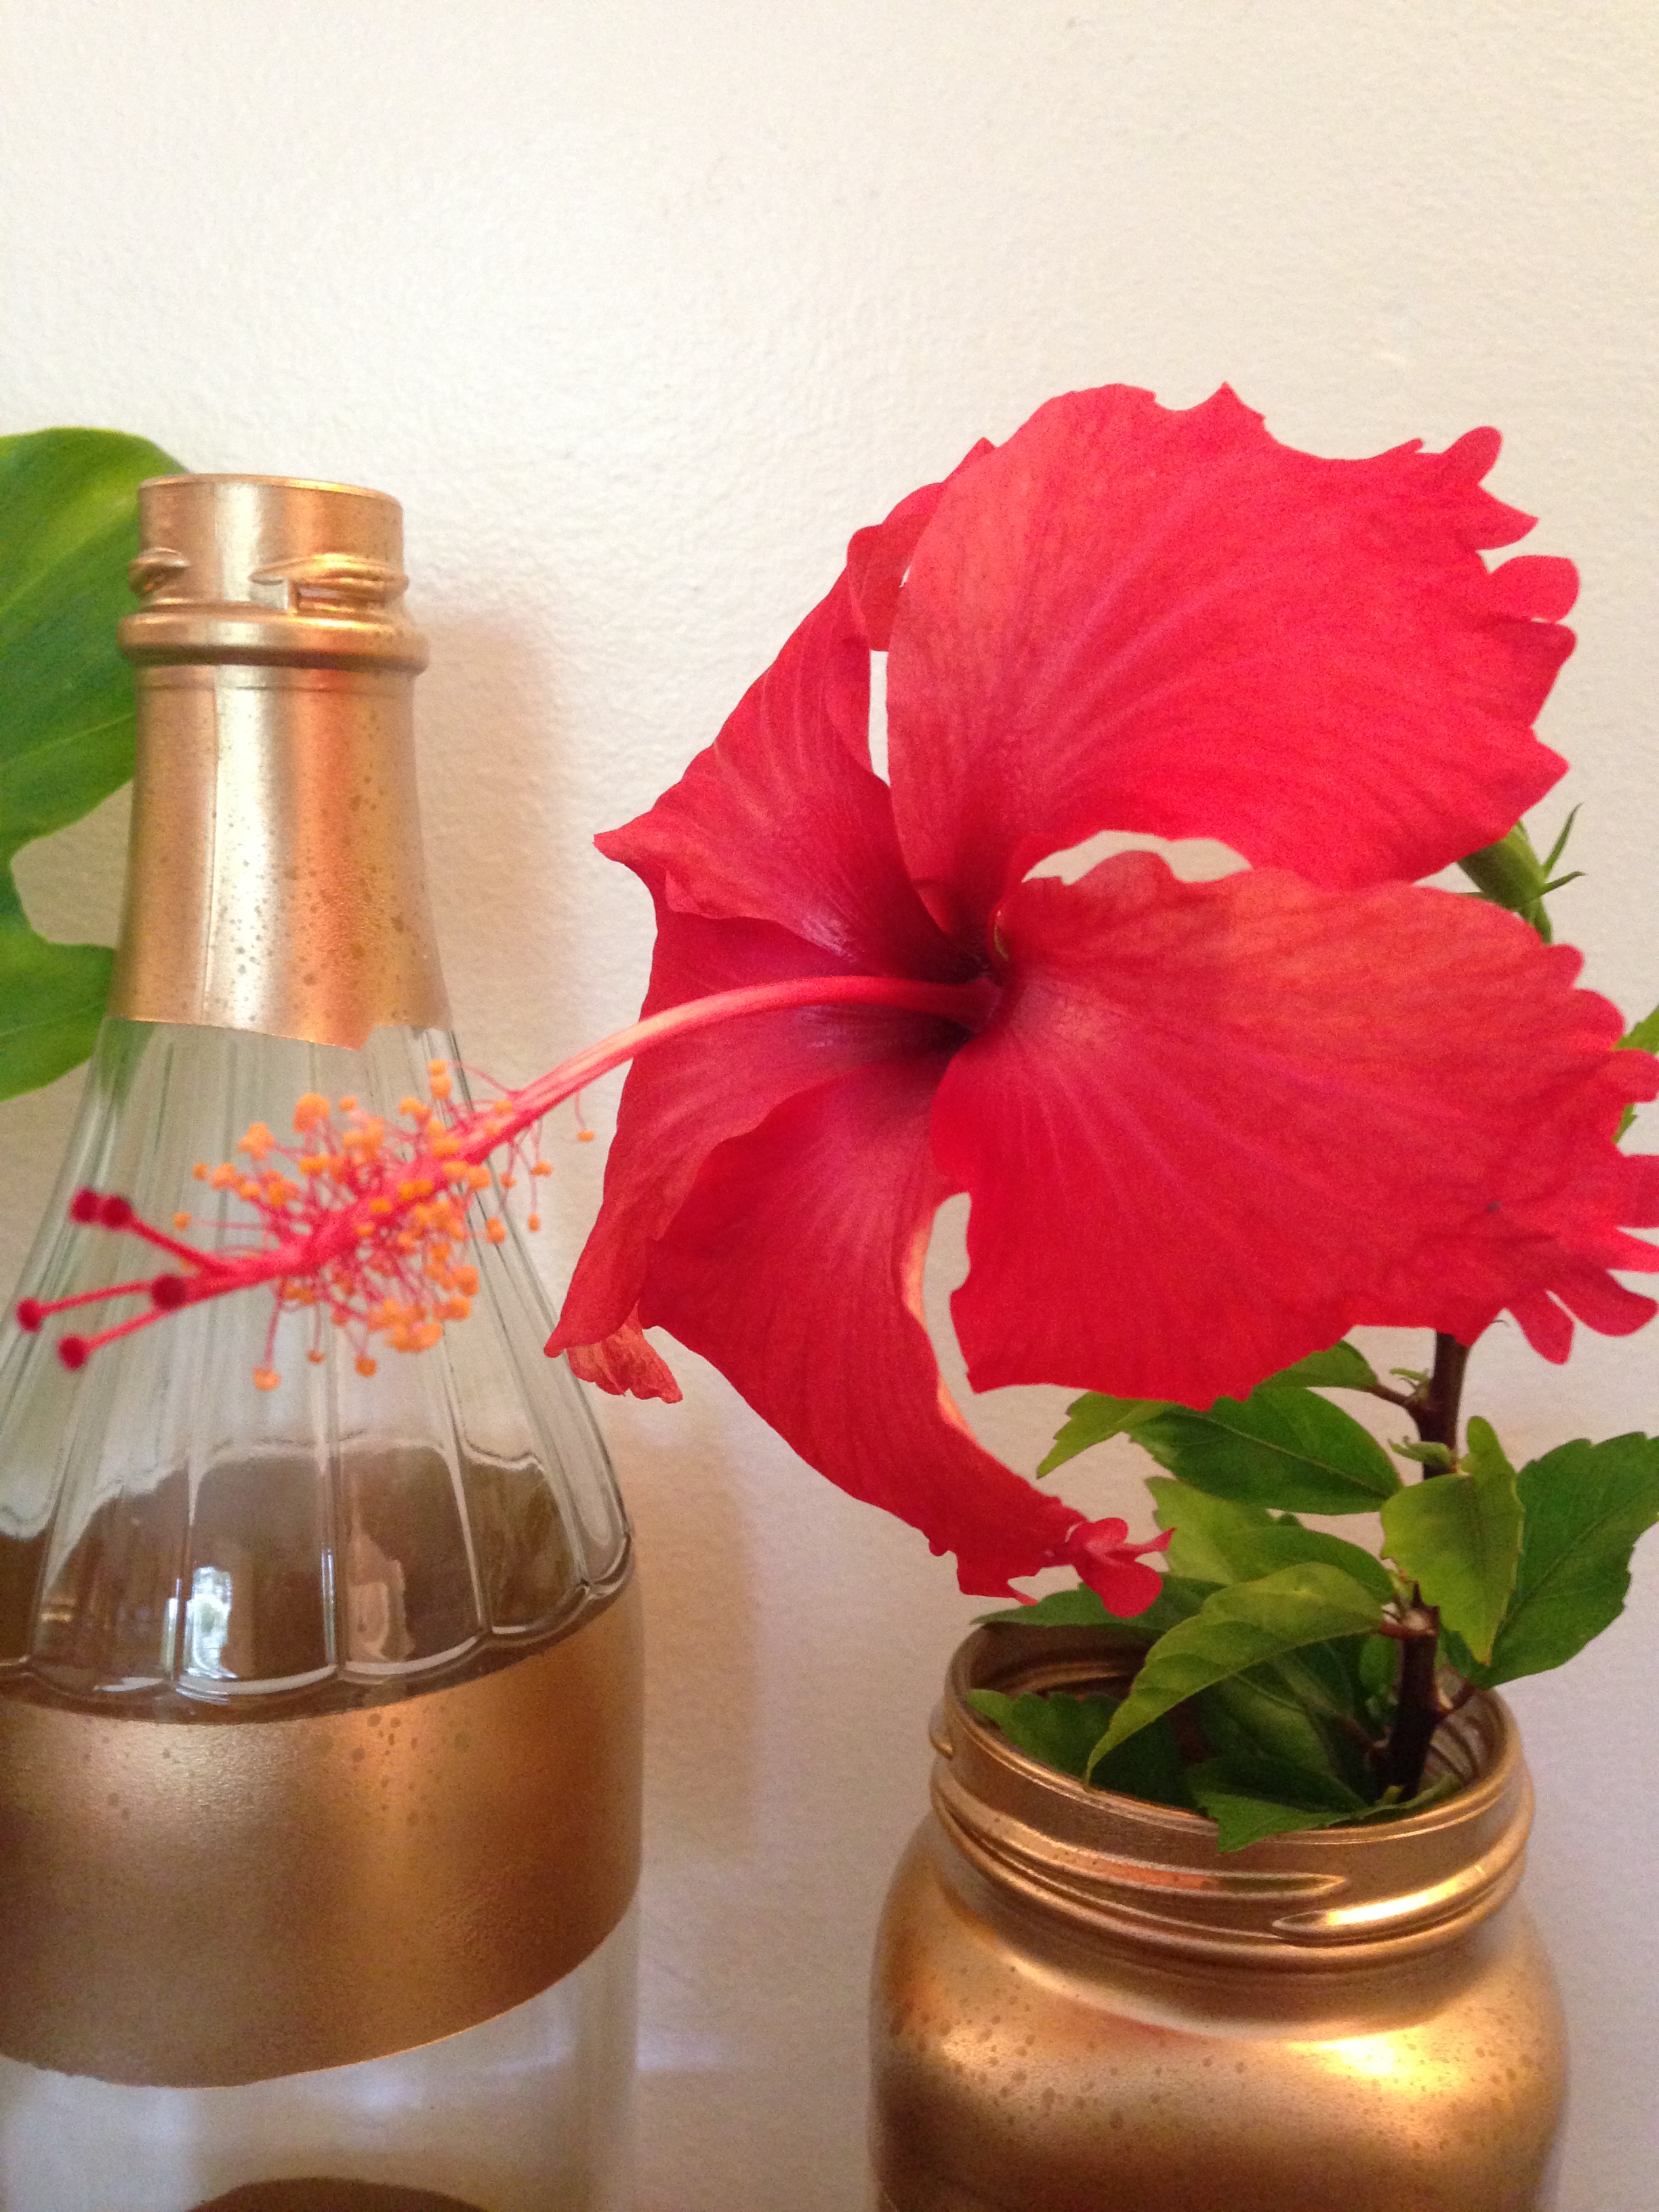
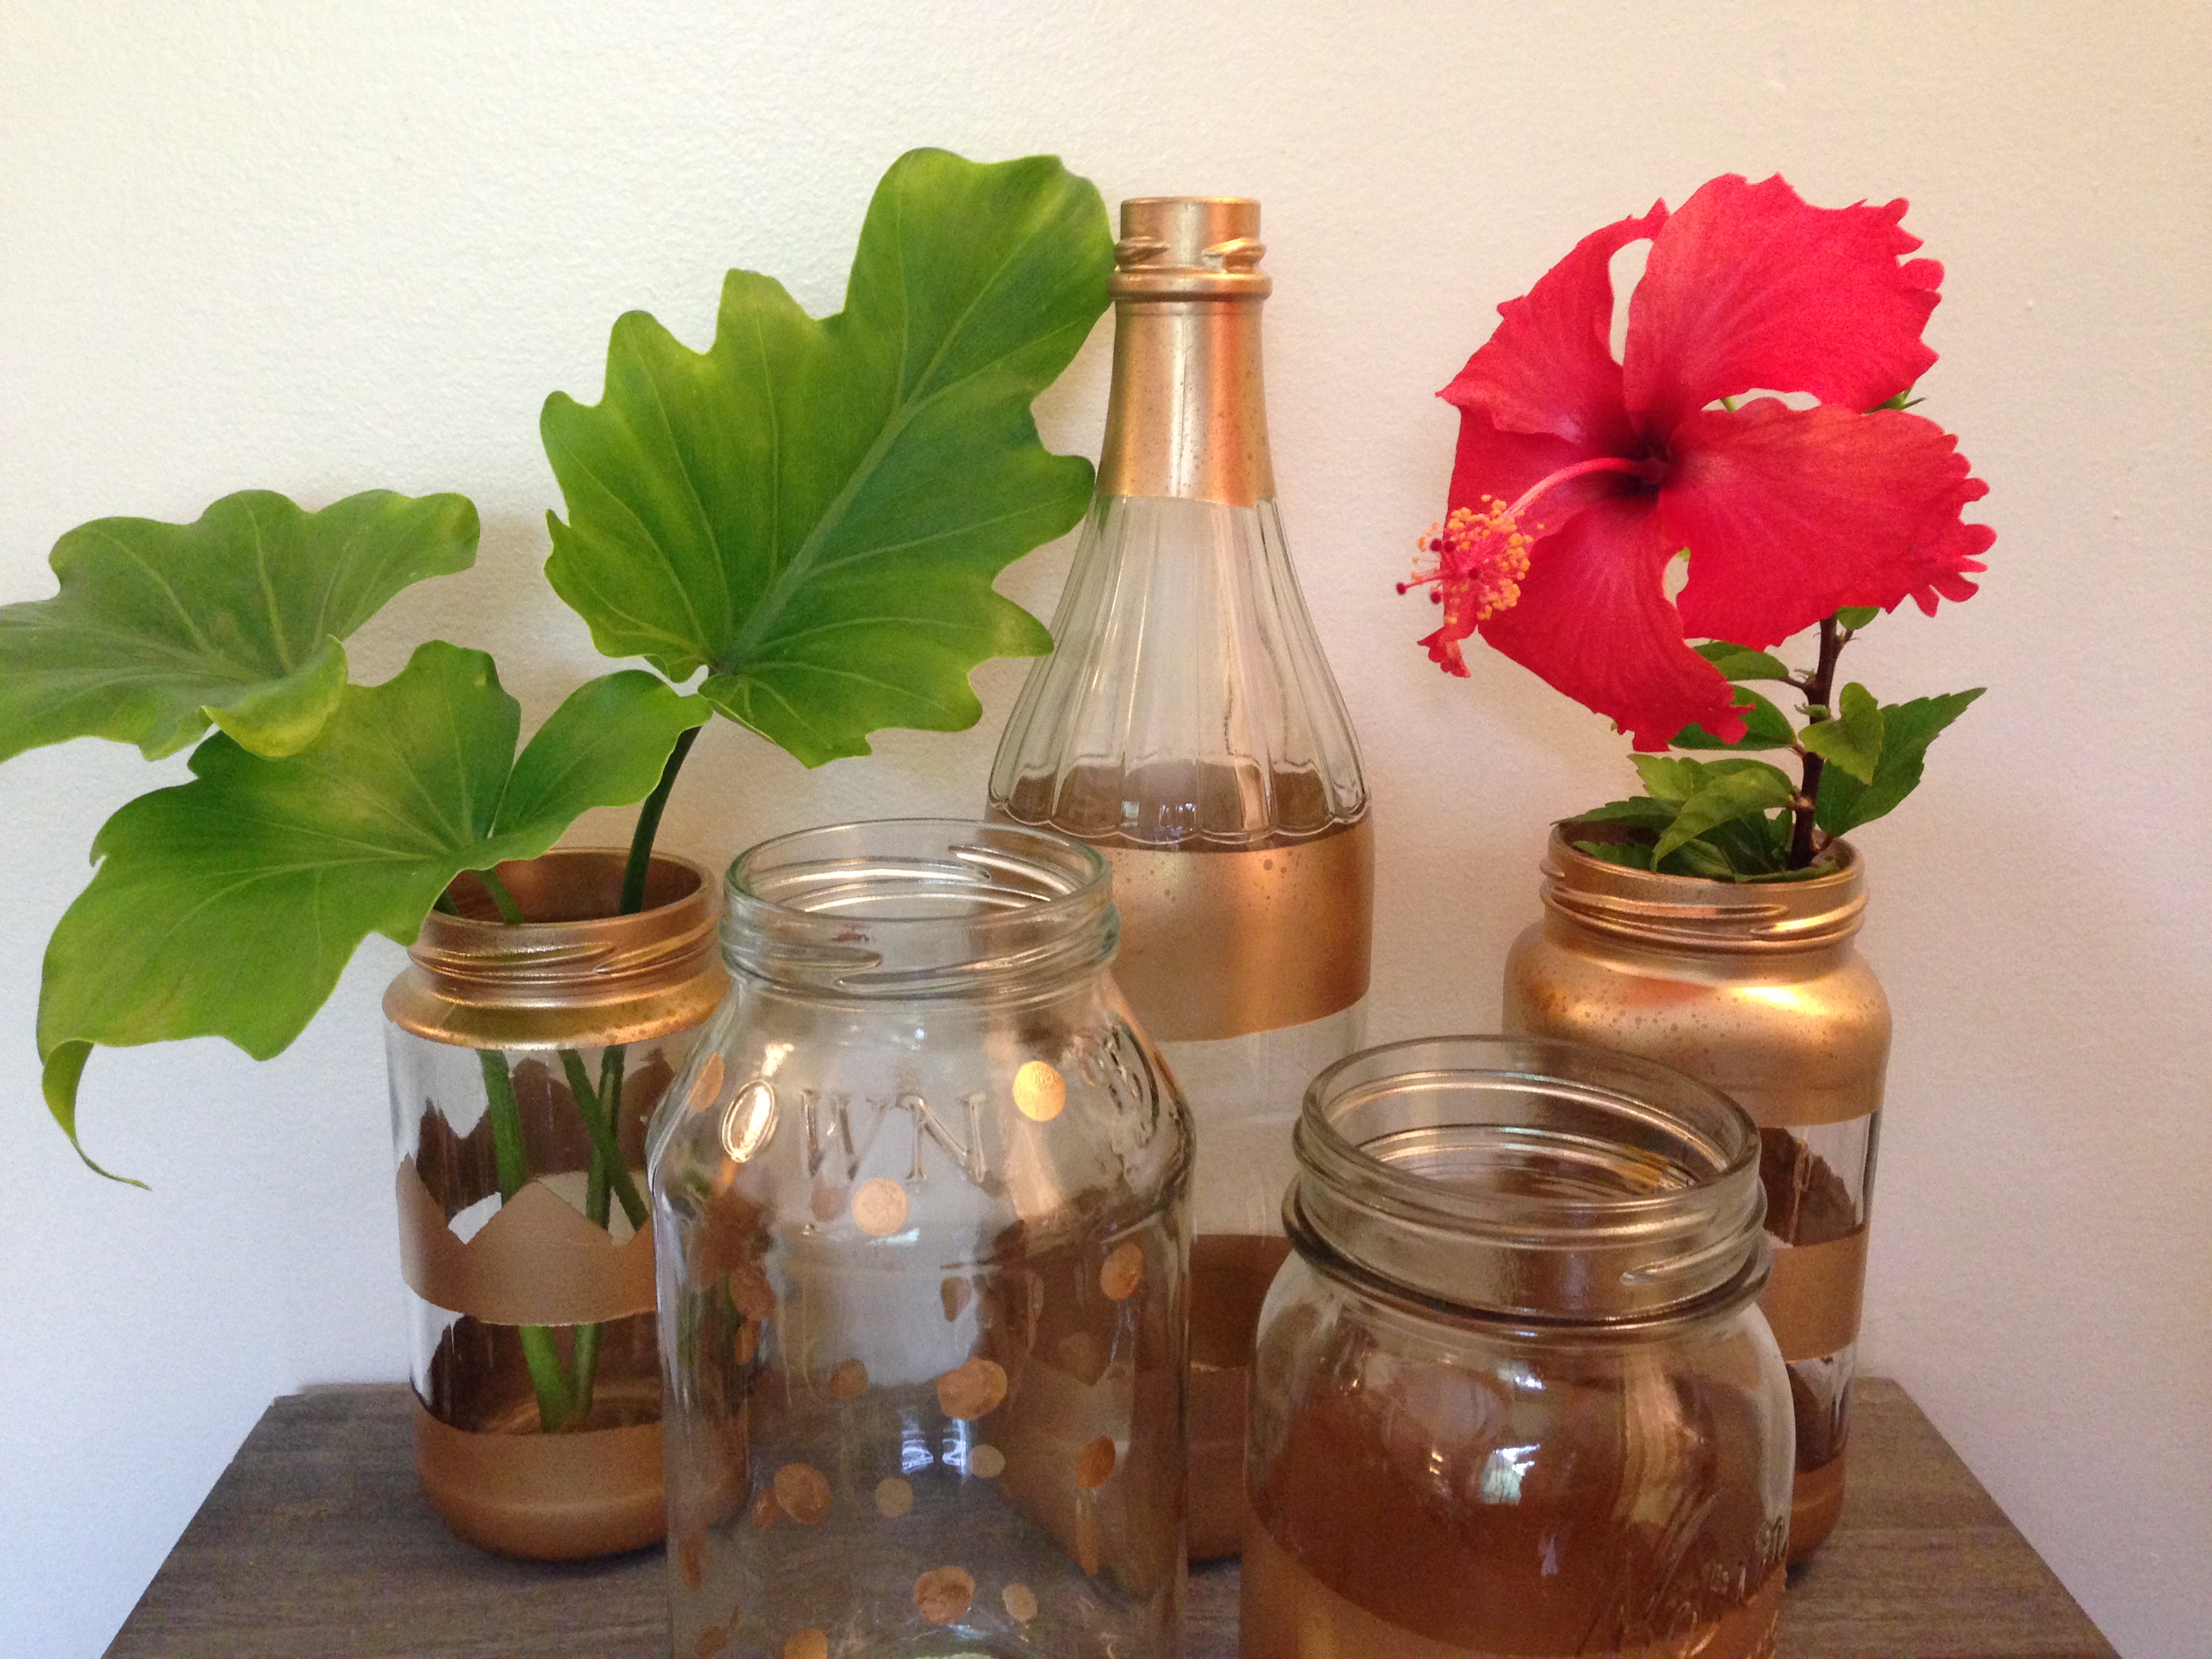
 Pick and choose your stems to customize a bouquet or arrangement, build your own terrarium or sign up for any of their workshops- including Flower Crowns!
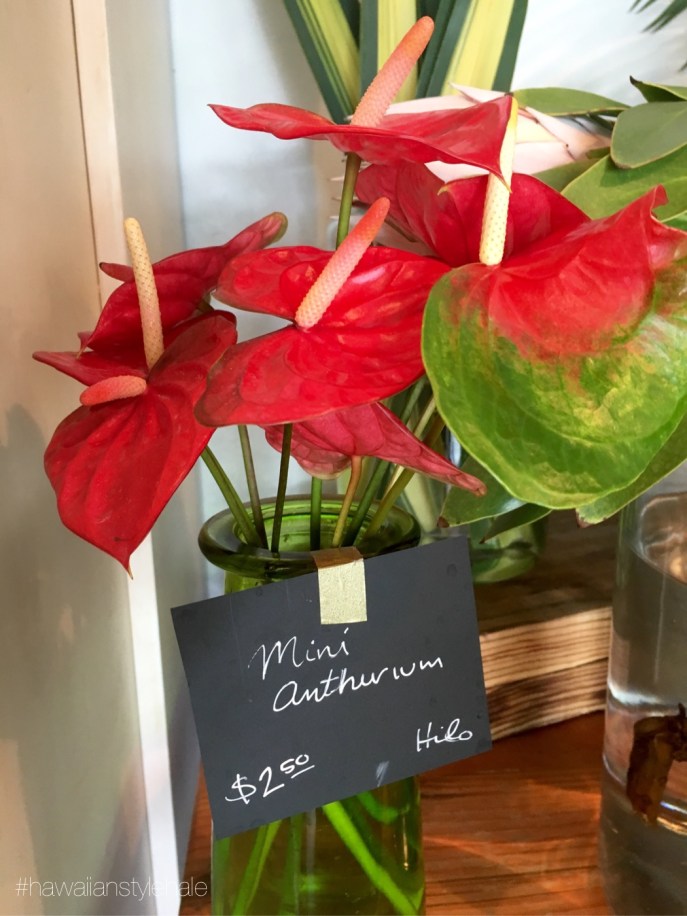


